
The Wand and Tome in Throne and Liberty remains one of the most flexible weapon choices for players who want to sustain themselves and their groups. In 2026, the pairing continues to reward thoughtful build planning rather than raw aggression, especially when it is combined with a secondary weapon that clarifies the character's role. The Wand and Tome produces steady healing, burst recovery, and curse-based support, but its true strength emerges when skills, stats, and weapon synergies are aligned. A healer can keep a party standing through sustained damage, while a tank can layer healing over high health and mitigation. The weapon is less about flashy damage and more about control over the flow of a fight.
Weapon Combinations That Define the Role
Every character in Throne and Liberty uses two weapons, and the combination largely determines whether the build functions as a tank, healer, or versatile support. The Wand and Tome is not locked to a single path, but its best pairings are clear.
| Secondary Weapon | Role | Core Strength |
|---|---|---|
| Sword and Shield | Tank | High survivability, damage reduction, and self-healing |
| Longbow | Healer | Focused healing, range, and enemy debuffs |
| Greatsword | Versatile | Health, regeneration, burst damage, and group flexibility |
Sword and Shield with Wand and Tome creates a durable tank. The shield line adds block chance, evasion support, taunts, and defensive cooldowns, while the Wand and Tome fills gaps with healing and curse effects. This combination takes less damage and recovers from the damage it does take with little friction.
Longbow with Wand and Tome is the most focused healer setup. The Longbow contributes healing-over-time effects, mana regeneration, debuff removal, and critical-hit support, while the Wand and Tome supplies burst heals and shields. Almost every ability keeps the healer at a safe distance, and the build adds meaningful debuffs that help allies deal heavier damage.
Greatsword with Wand and Tome is often underestimated, but it offers broad group compatibility. The Greatsword brings maximum health, health regeneration, aggro tools, and burst damage. When paired with curse-based healing, the build can contribute as a durable support, an off-tank, or a damage dealer with self-sustain.
Stat Priority: Wisdom, Strength, and Secondary Weapon Influence
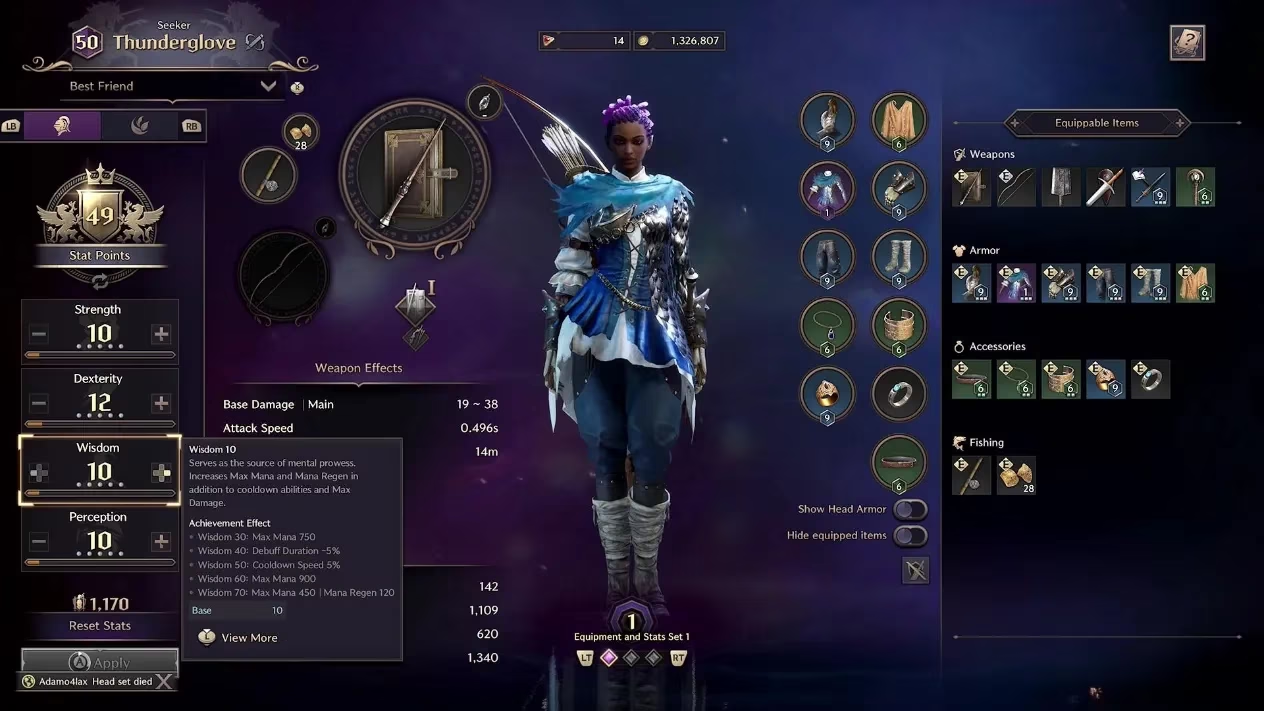
Stat allocation depends heavily on the secondary weapon, but Wisdom remains a universal consideration. For a healer, Wisdom is the priority because it supports mana and healing output. For a tank or damage-focused build, Wisdom still matters, but its weight depends on how heavily the character spends mana.
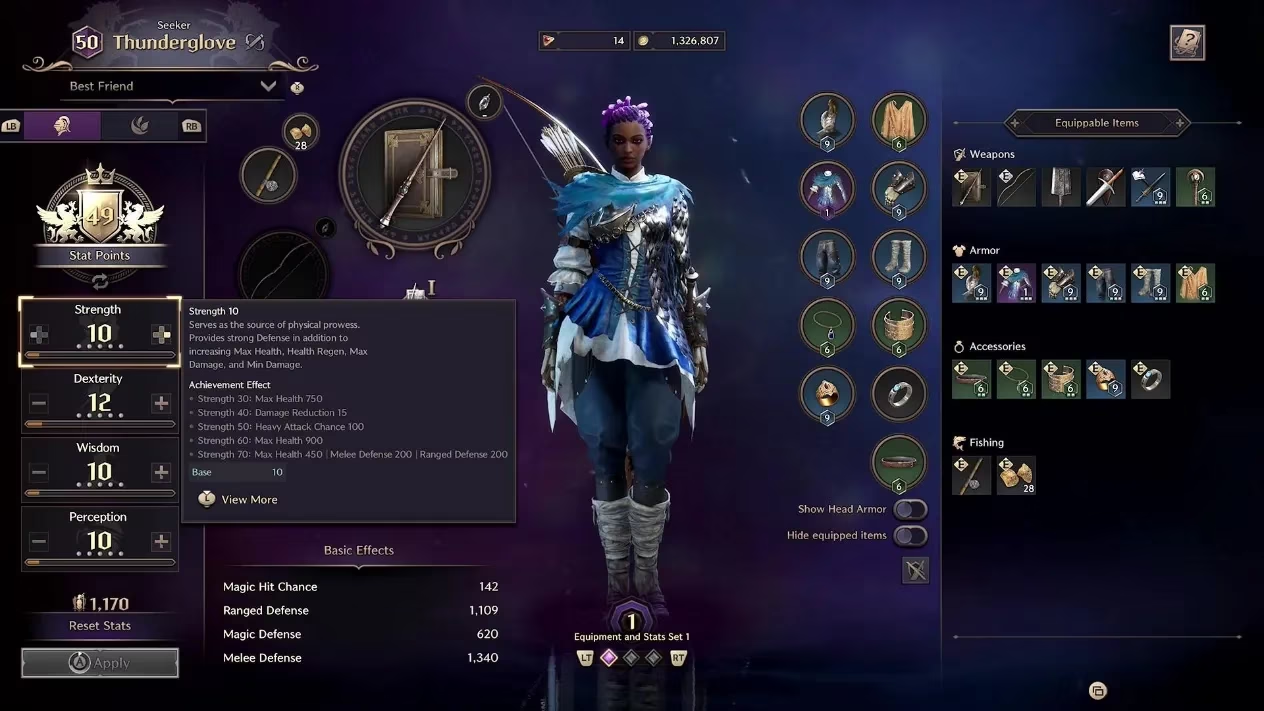
Strength becomes a main priority for builds that use Sword and Shield or Greatsword. More health and health regeneration improve survivability, and the extra damage also feeds certain healing interactions. In practice, a Wand and Tome tank wants enough Strength to remain stable under pressure, while a healer leans toward Wisdom and supporting stats that keep healing and mana flowing.
Core Wand and Tome Skills
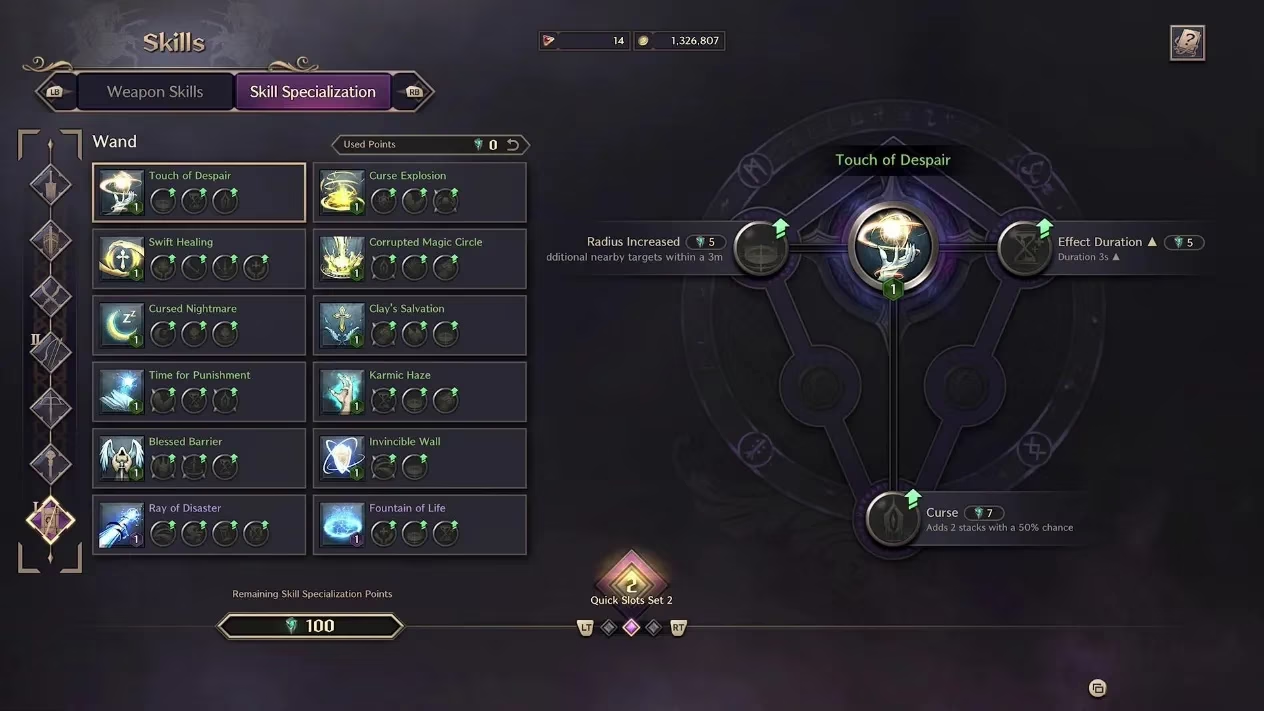
The Wand and Tome active skills form the backbone of most builds. Touch of Despair inflicts Curse and activates many passive interactions, making it a fundamental inclusion for tanks, healers, and damage-focused setups. Corrupted Magic Circle spreads Curse to enemies inside its radius, though its cooldown makes it less constant than Touch of Despair. Swift Healing provides quick bursts of recovery, and with skill specialization it can extend to three bursts. Clay's Salvation delivers a larger heal to the player and nearby allies after a short cast, which suits tank builds. Blessed Barrier greatly increases an ally's defense for six seconds and also improves incoming healing or Endurance depending on the day-night cycle. Invincible Wall is a true shield that absorbs a hefty amount of damage, and upgrading it increases the shield's capacity.
The passive skills are just as important. Vampiric Contract is the centerpiece: it heals allies for a percentage of damage dealt to Cursed enemies, or heals the player when no allies are in range. This means damage itself becomes a healing engine. Devotion and Emptiness provides a healing buff during the day and also benefits night healing when Vampiric Contract is active. Selfless Soul increases mana regeneration and healing whenever health recovery is granted to an ally. Wraith's Beckon extends Curse duration, which strengthens Vampiric Contract windows.
Greatsword Synergies
A Greatsword pairing turns the Wand and Tome into a flexible bruiser-support. DaVinci's Courage increases health, health regeneration, and attack speed for the player and nearby allies. Death Blow deals heavy damage and combines well with Vampiric Contract for a strong heal. Stunning Blow should precede Death Blow because the latter deals heavier damage to stunned enemies. Blood Devotion transfers 40% of a party member's incoming damage to the user, which is useful when the player can absorb it.
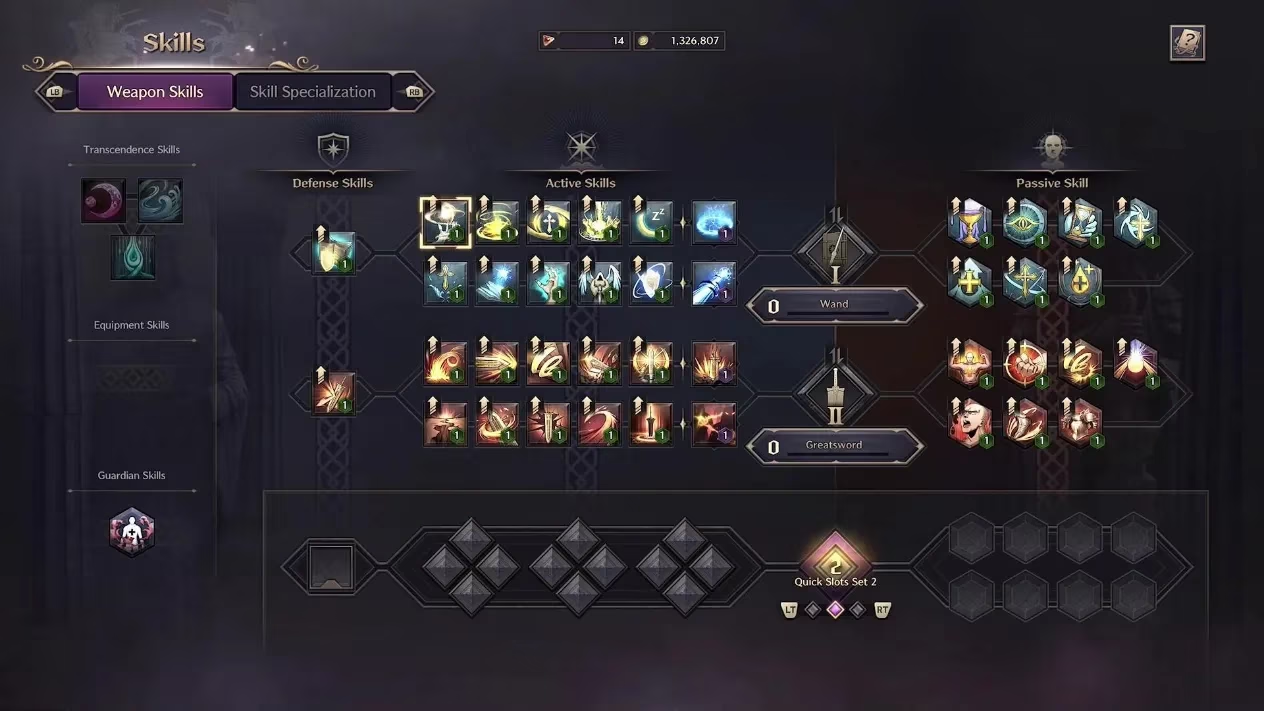
The Greatsword passives reinforce durability. Robust Constitution raises maximum health and health regeneration. Vital Force increases hit chances, skill damage boost, and stun chance based on maximum health, which scales well in a health-heavy build. Indomitable Armor has a 25% chance to increase all defenses whenever damage is taken, and a tank will take damage often enough to benefit regularly.
Sword and Shield Synergies
Sword and Shield provides the Wand and Tome tank with direct defensive tools. Shield Strike reduces enemy hit chance and improves survivability. Counter Barrier raises shield block chance as it levels. Stalwart Bastion reduces damage for the player and allies in a medium radius, though it has a long cooldown. Provoking Roar taunts enemies immediately, which is essential for tanking and pairs with Skillful Evasion.
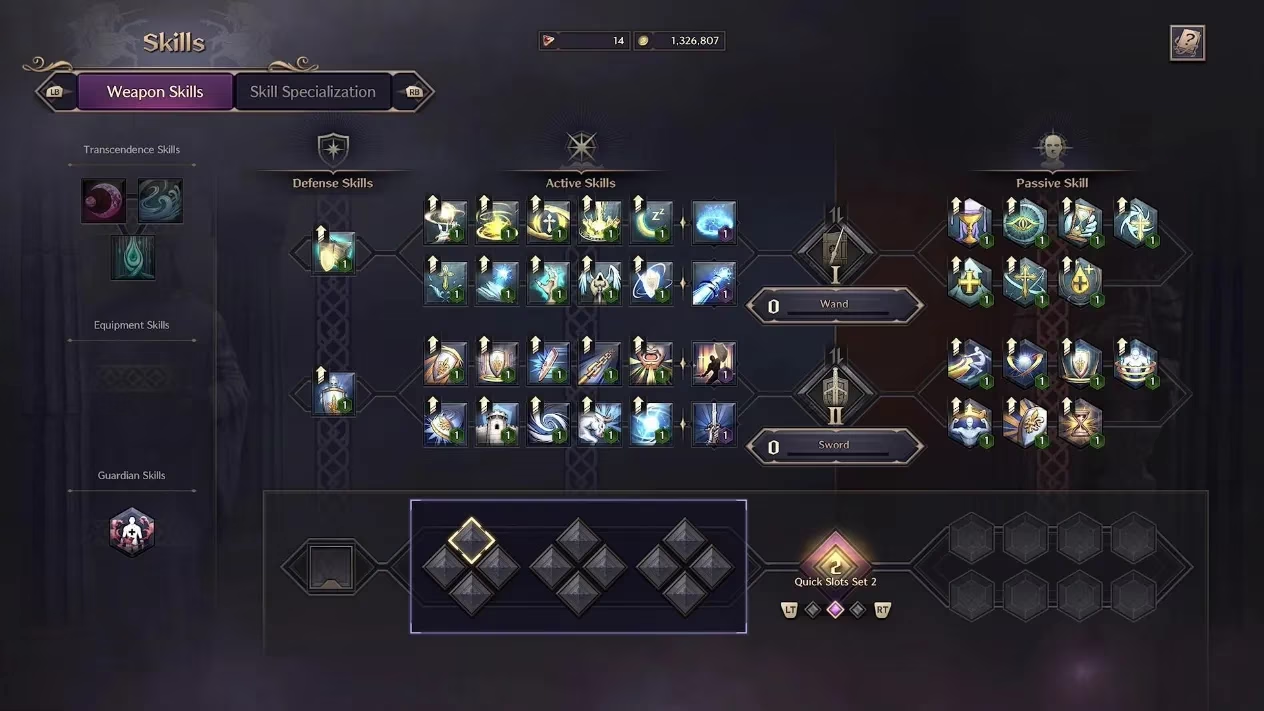
The passives complete the defensive package. Skillful Evasion increases evasion against provoked targets. Gerad's Patience raises Crowd Control resistance after a successful evade or block, which protects the tank from stuns. Impenetrable increases defense based on nearby targets, capped at seven, making large pulls more manageable and reducing pressure on healers.
Longbow Synergies
Longbow focuses the Wand and Tome on healing and debuff support. Nature's Blessing greatly increases health and mana regeneration for all allies in a wide radius. Healing Touch is a heal-over-time effect with a short cooldown, so it can remain active almost constantly. Deadly Marker debuffs enemies to increase allies' critical hit chances and reduce their skill cooldowns. Purifying Touch removes an ally's debuff and briefly increases attack speed.
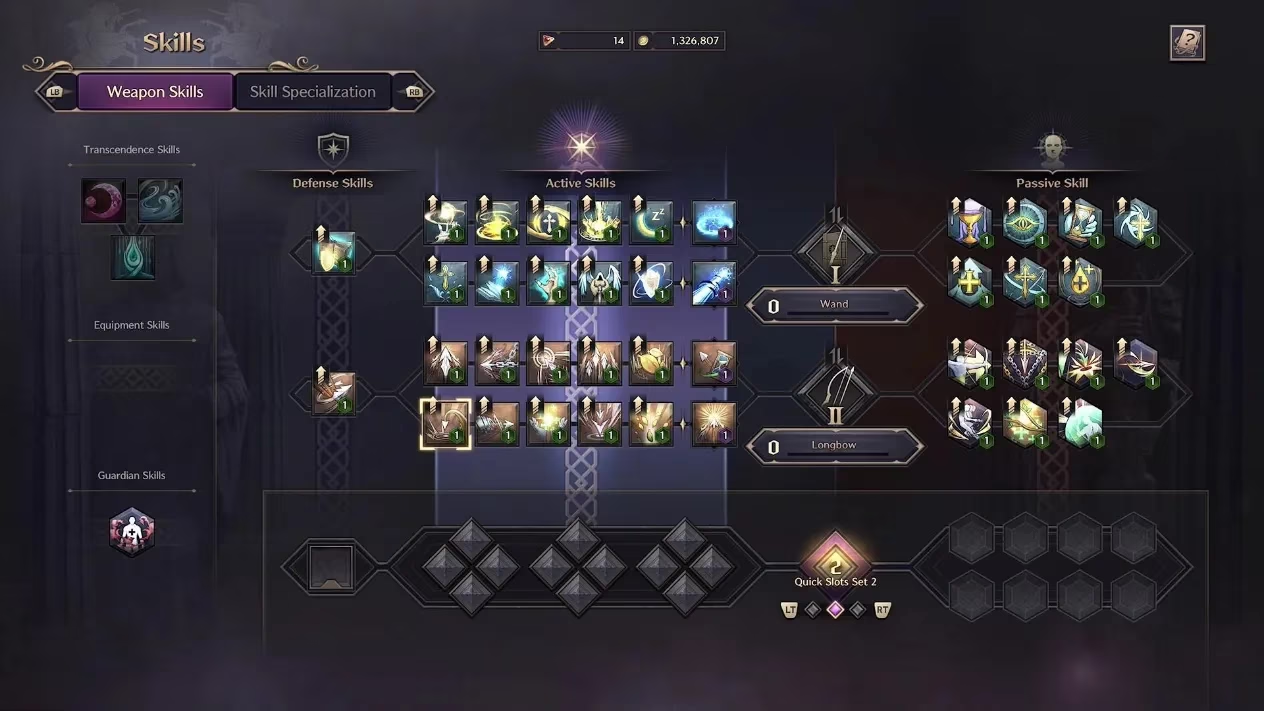
The Longbow passives strengthen the healer role. Earth's Blessing improves all healing abilities. Devoted Shield is more useful in PvP and grants a powerful shield when the player is hit with a Weaken effect. Distorted Sanctuary increases Endurance and skill health recovery for each ally in range, rewarding tight group play.
Putting It Together
The Wand and Tome rewards players who build around a clear purpose. A tank should lean on Sword and Shield or Greatsword, stack Strength, and use Curse to turn damage into healing. A healer should pair with Longbow, prioritize Wisdom, and maintain healing-over-time effects while using Deadly Marker to accelerate the party's damage. A versatile Greatsword setup can fit into many group compositions by blending health, regeneration, burst damage, and support. In 2026, the weapon pairing remains a strong choice for players who value sustain, group utility, and deliberate character building over pure offense.
According to coverage from Giant Bomb, support-oriented weapon combinations in online RPGs tend to stay relevant when they offer dependable sustain, utility layering, and clear role identity, which aligns well with how Wand and Tome builds in Throne and Liberty can shift between healing, tanking, and hybrid support depending on the chosen secondary weapon.
Comments