Alright, folks, let's get down to brass tacks. If you're diving into the Secret Dungeons of Throne and Liberty in 2026, you know the deal. It's you against the boss, mano a mano, no one to blame but yourself if things go south. Among these solo trials, the fourteenth floor, known as the Old Wizard's Eye, has a reputation for being a real doozy. It's the kind of fight that separates the casuals from the hardcore, and this guide is here to make sure you land on the right side of that equation. So, buckle up and let's break down this tricky encounter, step by step.
The Lay of the Land: Understanding the Challenge
First things first, let's set the stage. The Old Wizard's Eye is no pushover. This fight is all about pattern recognition, precise timing, and, most importantly, not panicking when the screen starts to light up with danger. The boss has a specific rotation of mechanics, and failing any one of them can mean a quick trip back to the respawn point. The key is to treat it like a dance—learn the steps, and you'll be gliding through it in no time. It's a real test of your solo chops, a true "git gud" moment, as the veterans like to say.
Phase 1: The Opening Gambit - Counter and Puddles
The fight kicks off with what seems like a simple warning shot. After a few auto-attacks, the Old Wizard's Eye will unleash its first major mechanic.
1. The Painful Counter
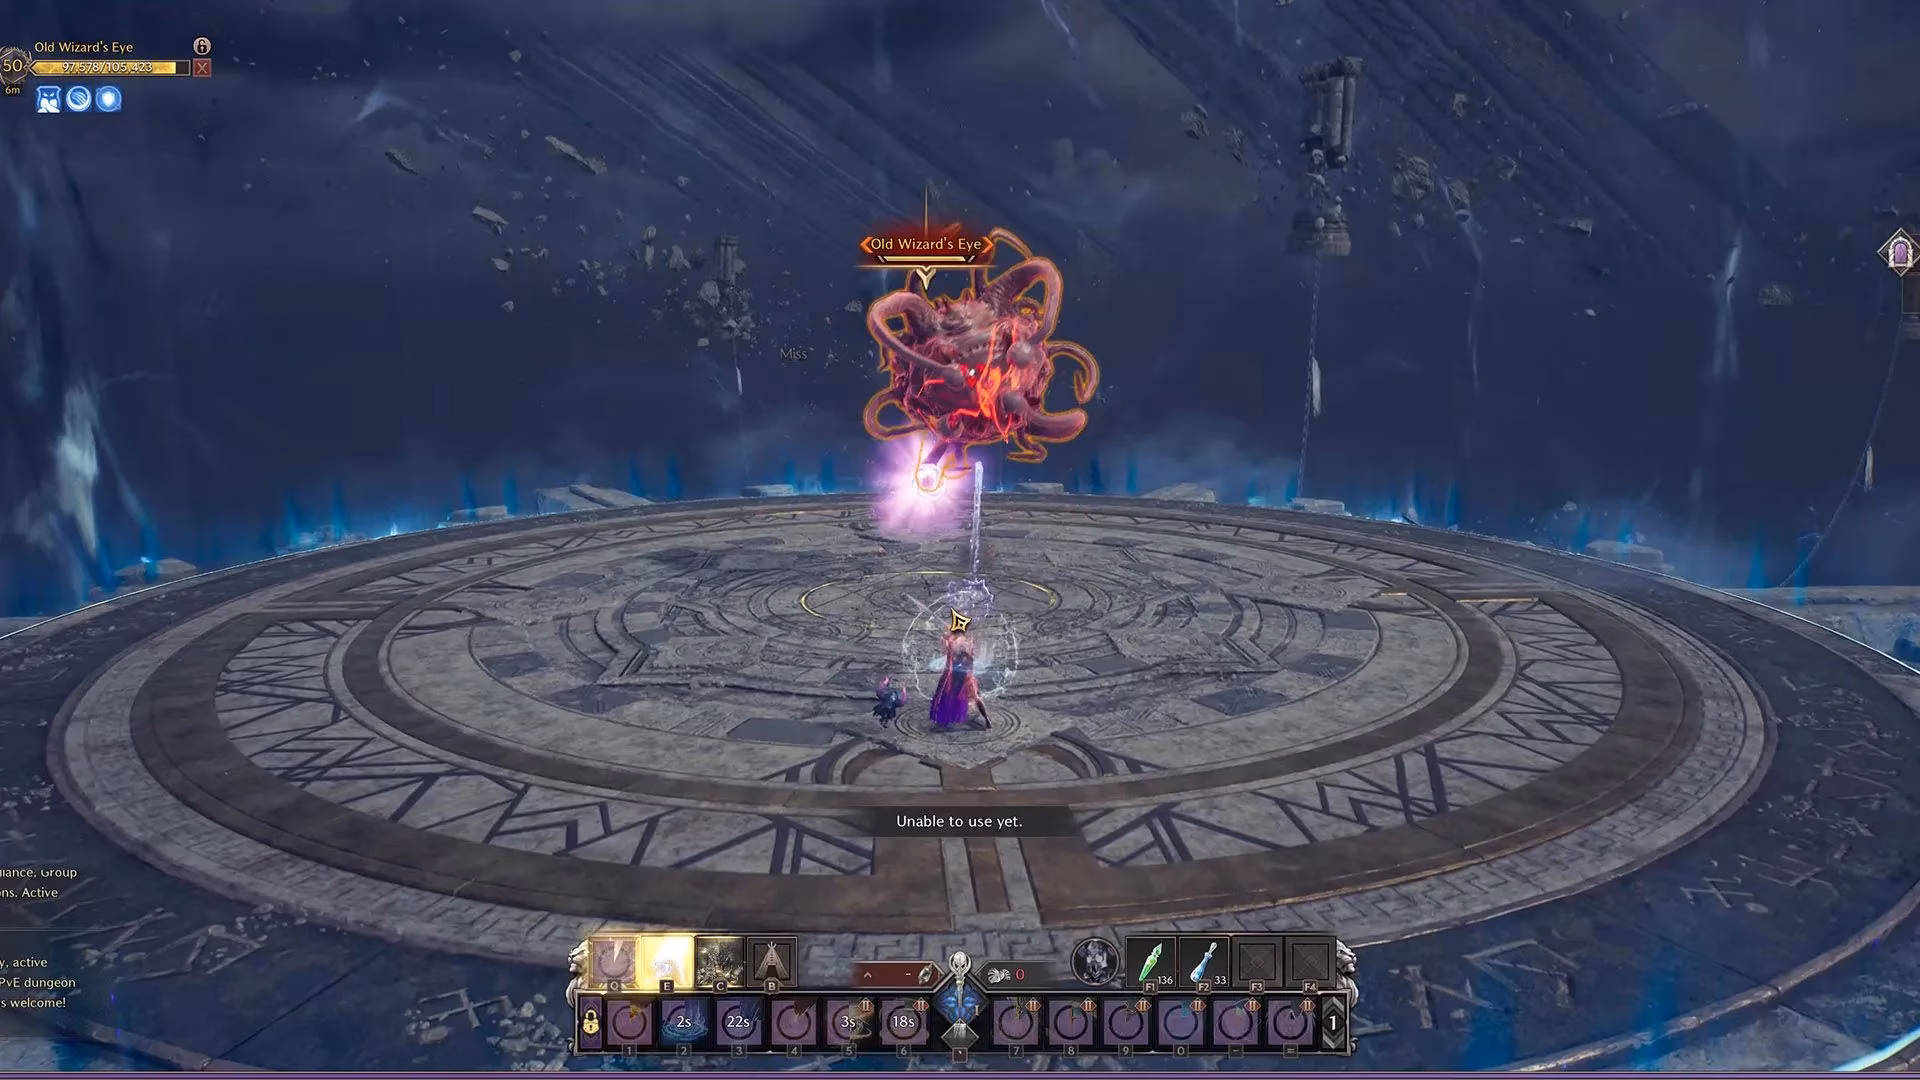
Right off the bat, the boss will telegraph a large Area-of-Effect (AOE) counter-attack. This isn't just for show—it hits like a truck. The tell is usually a distinct visual cue or audio line. Your job? Get down! Most classes have a defensive skill, a block, or a well-timed dodge to mitigate or avoid this damage entirely. Failing this mechanic is a surefire way to start the fight on the back foot. Consider this your wake-up call; it sets the pace for the entire encounter.
2. The Floor is Lava (Well, Kinda)
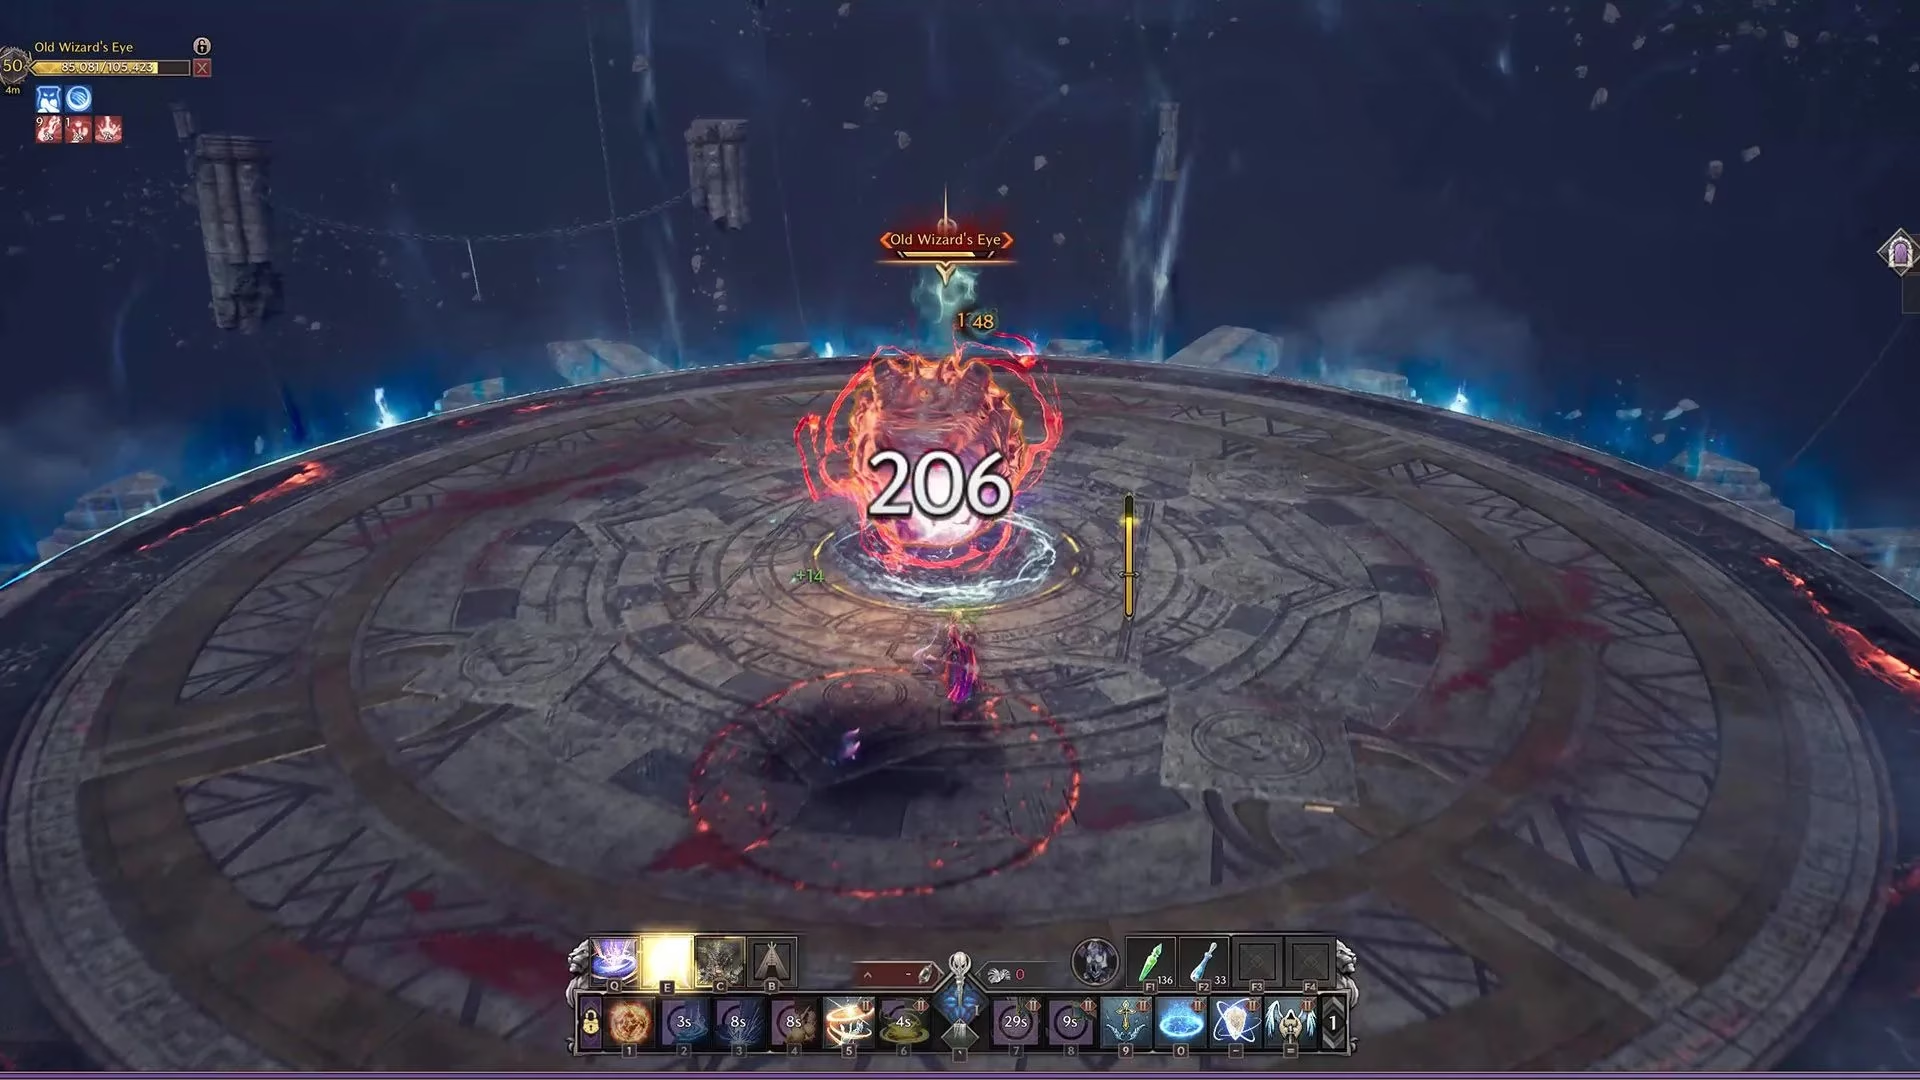
Immediately following or intertwined with the counter, the Eye will glow a sinister red. This is your signal that the floor is about to become your enemy. Glowing red puddles will spawn directly under your character. These are damage-over-time zones and movement traps. The golden rule here is: don't stand in the bad stuff! You've got a brief window to move out before they activate. No dilly-dallying! Once you've navigated the puddle phase, brace yourself for three consecutive raid-wide damage pulses. Make sure your health is topped up, and consider using a minor defensive cooldown or a health potion if needed.
The Main Event: The Dreaded Half-Room Cleave
Now we get to the meat and potatoes of the fight, the part that causes most players to pull their hair out. This mechanic happens twice, and it's an instant-kill if you mess it up. No pressure, right?
3. Half-Room Instant Kill - Part 1
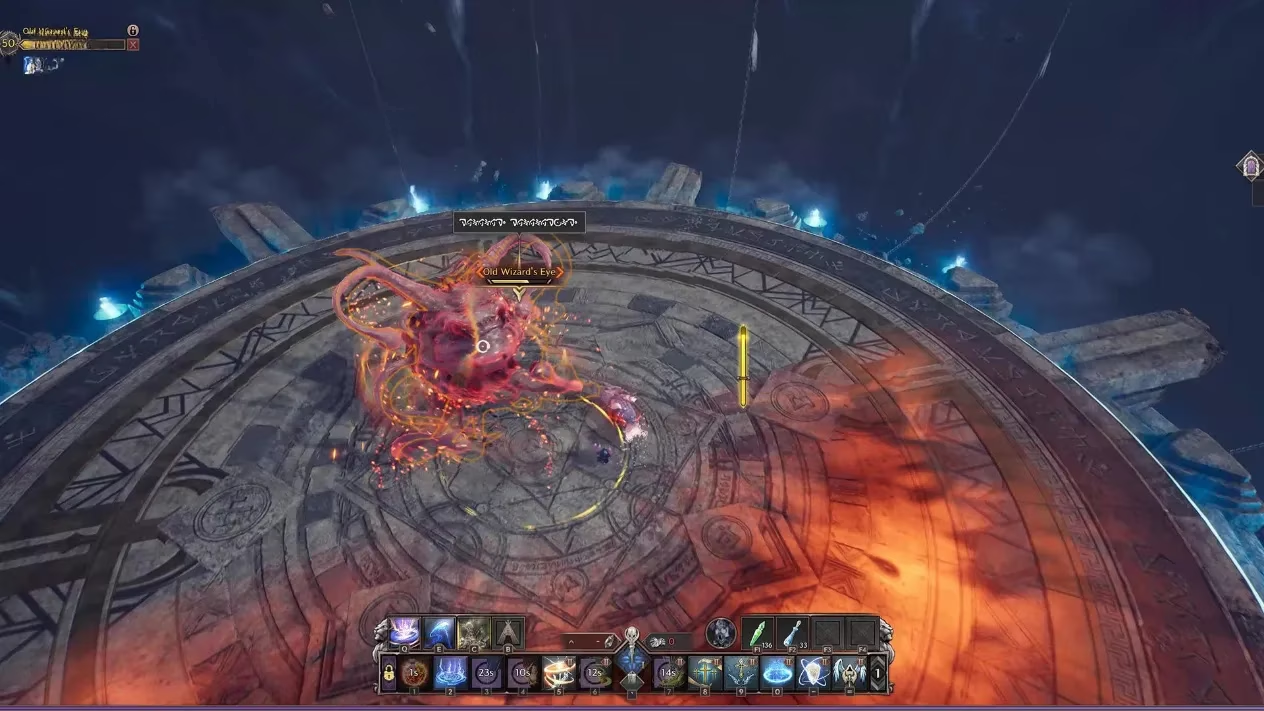
After the three raid-wide hits, the boss will start chanting in some arcane language. This is the big one. The Old Wizard's Eye will target your current position and begin a massive cleave attack that covers half the room. The kicker? It applies a heavy movement speed slow, and the time to react is incredibly tight—just a couple of seconds. Here's the pro-tip, the "aha!" moment:
-
As soon as the third raid-wide attack finishes, sprint directly towards the boss.
-
Immediately mount up. Your mount's movement speed is crucial here.
-
Don't run directly away. Instead, angle your run around the side of the boss. Picture running in a curve or a crescent moon shape to get out of the targeted half of the room.
This method gives you just enough time to escape the blast zone. It's a tight window, but it's consistent.
4. The Calm Before the Second Storm
Don't get complacent after surviving the first cleave. The boss isn't done. You'll enter an intermission phase with the following sequence:
-
A counter-attack (same as the opener).
-
Another round of red puddles.
-
A second counter-attack.
-
Four raid-wide damage pulses (tougher than the first set!).
-
Yet more puddles.
-
A final counter-attack.
You need to keep your cool during this sequence. It's easy to lose track of where you are in the rotation. Manage your cooldowns and health carefully here.
5. Half-Room Instant Kill - Part 2 (The Perfected Version)
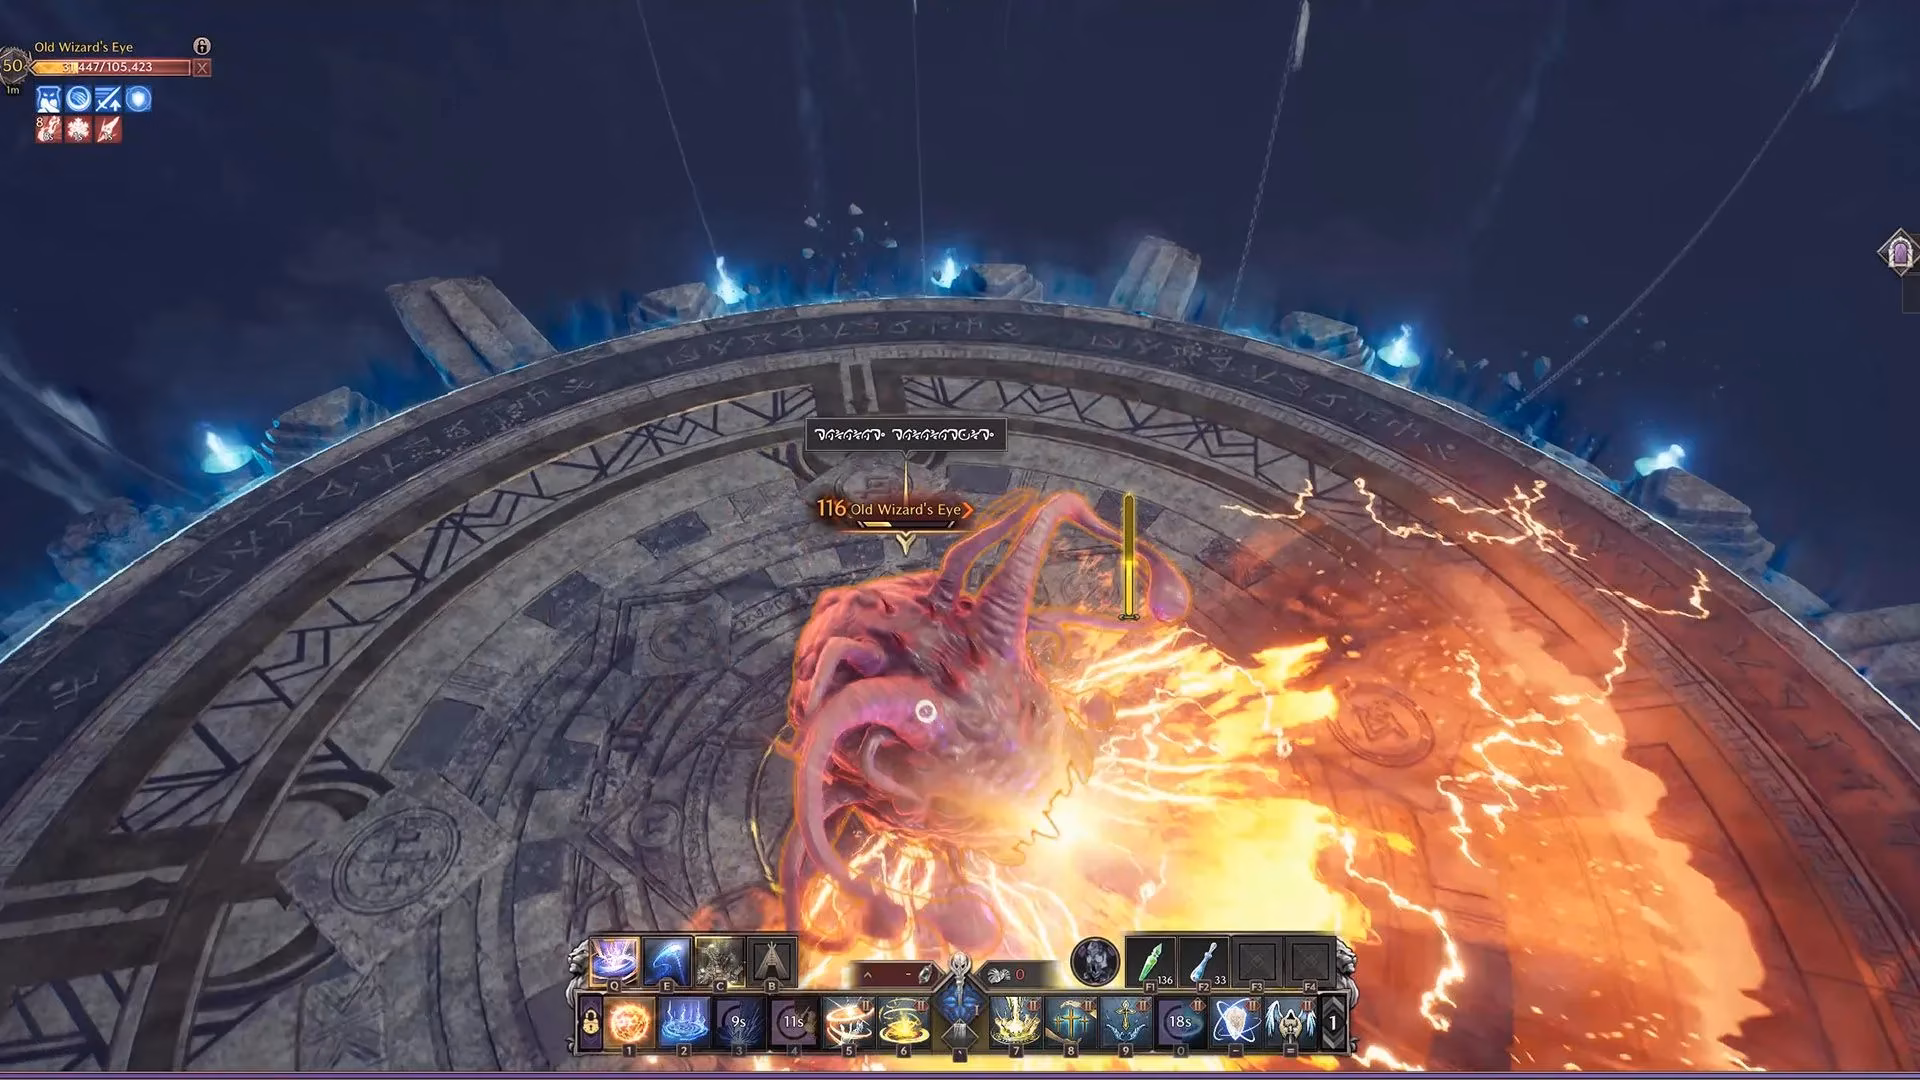
After that final counter-attack, the boss will instantly launch into the half-room cleave again. This is the "perfected" version. The tell is faster, and the window to react is almost nonexistent. You must be prepped and ready to go. The moment you successfully counter or avoid that last attack:
-
Do not hesitate. Mount up instantly.
-
Already be angling your character to run around the boss's flank.
-
Execute the same curved escape maneuver. If you wait to see the animation, you're already toast.
Home Stretch: Rinse and Repeat
Once you've conquered the second instant-kill mechanic, you can breathe a sigh of relief. Seriously, the hardest part is over. From this point, the Old Wizard's Eye will loop back to its earlier pattern of counters, puddles, and raid-wide attacks, but it will not use the half-room cleave again. Your job is to stay focused, avoid the recurring mechanics, and chip away at its health bar until it falls. It's smooth sailing from here, so don't get cocky and make a silly mistake!
The Spoils of War: Your Well-Earned Rewards
Defeating such a formidable solo challenge doesn't come without a sweet, sweet payout. As of 2026, vanquishing the Old Wizard's Eye on Floor 14 grants you a hefty haul that's well worth the effort:
| Reward | Icon | Quantity | What It's For |
|---|---|---|---|
| Sollant (In-game Currency) | (Coin bag) | 49,148 | Buying gear, consumables, and all sorts of goodies from vendors. |
| Experience Points (EXP) | (EXP bar) | 42,052 | Leveling up your character and gaining power. |
| Precious Weapon Growthstone |  |
7 | Upgrading and enhancing your primary weapons. Essential for endgame progression. |
| Precious Armor Growthstone |  |
7 | Upgrading and enhancing your chest, legs, and other armor pieces. |
| Precious Accessory Growthstone |  |
7 | Upgrading and enhancing your rings, necklaces, and belts. |
| Rare Recovery Crystal | (Health potion) | 10 | High-value healing or utility consumables for your future adventures. |
Final Tips and Tricks 🎯
-
Practice Makes Perfect: Don't get discouraged if you wipe a few times. This fight is about muscle memory.
-
Gear Check: Make sure your equipment is up to snuff for a level 50 challenge. Every bit of stats helps.
-
Consumables are Your Friend: Don't be shy about using stat-boosting food, health potions, or movement speed elixirs.
-
Watch the Tells: The boss's glowing red color for puddles and its unique chant for the cleave are your best friends. React to them instinctively.
So there you have it, the complete lowdown on taking down the Old Wizard's Eye. It's a tough nut to crack, but with this guide, you've got the blueprint for success. Now get out there, show that giant eyeball who's boss, and claim your rewards! You've got this. 👍
Comments