
Throne and Liberty players who reach the Nightmare Deja Vu questline in 2026 often describe At The Lycans' Hall as a sudden spike in difficulty. The solo dungeon under the Guild Landmark in Grayclaw Forest sends adventurers searching for a missing villager from Canina, but the real challenge is a two-stage moon puzzle that demands sharp observation and the correct wolf morph. A player can clear the combat encounters without issue and still find themselves stuck at a silent pillar, unsure why the next phase will not begin.
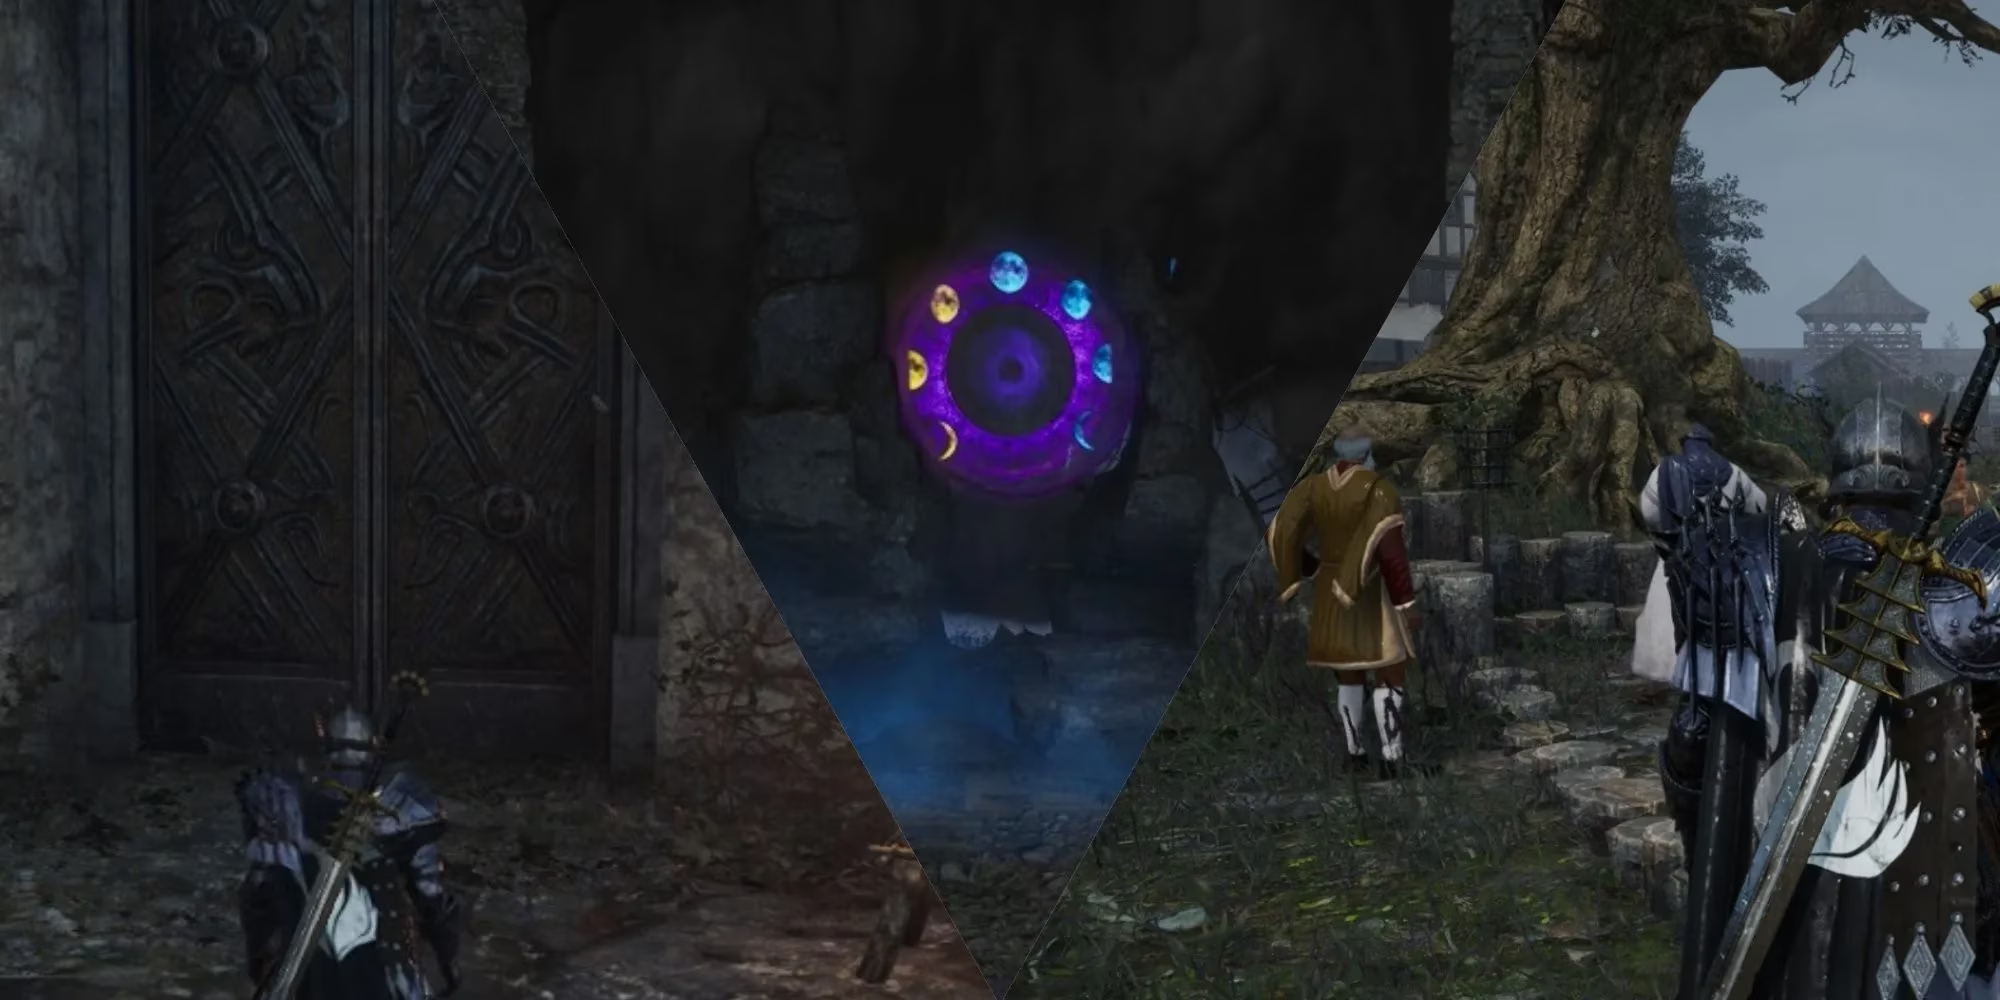
Reaching At The Lycans' Hall
Before the puzzle starts, players must complete Chapter 9 and rescue Benny from the Akidu Orcs. Hannah then sends them back to Canina Village to deliver a package to Harden. The Guard Captain explains that a series of disappearances has troubled the area near Grayclaw Forest, which pushes the story into Chapter 10. The early objectives include the quests Into The Grayclaw Forest and Appendix 1: Vicious Lycans.
The path to the instance can be summarized in a short sequence. Players should deliver Hannah's gift, speak with Gustav, and then travel into Grayclaw Forest. There they must search for Harden and defeat ten Kowazan Clan Members. These enemies are Lycans at night and humans during the day, so the combat encounter may feel different depending on the in-game clock. After the kills, the Find Harden objective directs players northeast toward a quest marker. The trail of clues eventually leads to the Guild Landmark basement, where the At The Lycans' Hall instance opens.
First Puzzle Stage: Half Moons and Pillars
Inside the ruined building, players descend until they see a door marked by the bright blue cross-shaped cutscene indicator. Interacting with the door begins the solo dungeon. Clay is waiting inside and starts the moon puzzle once spoken to.
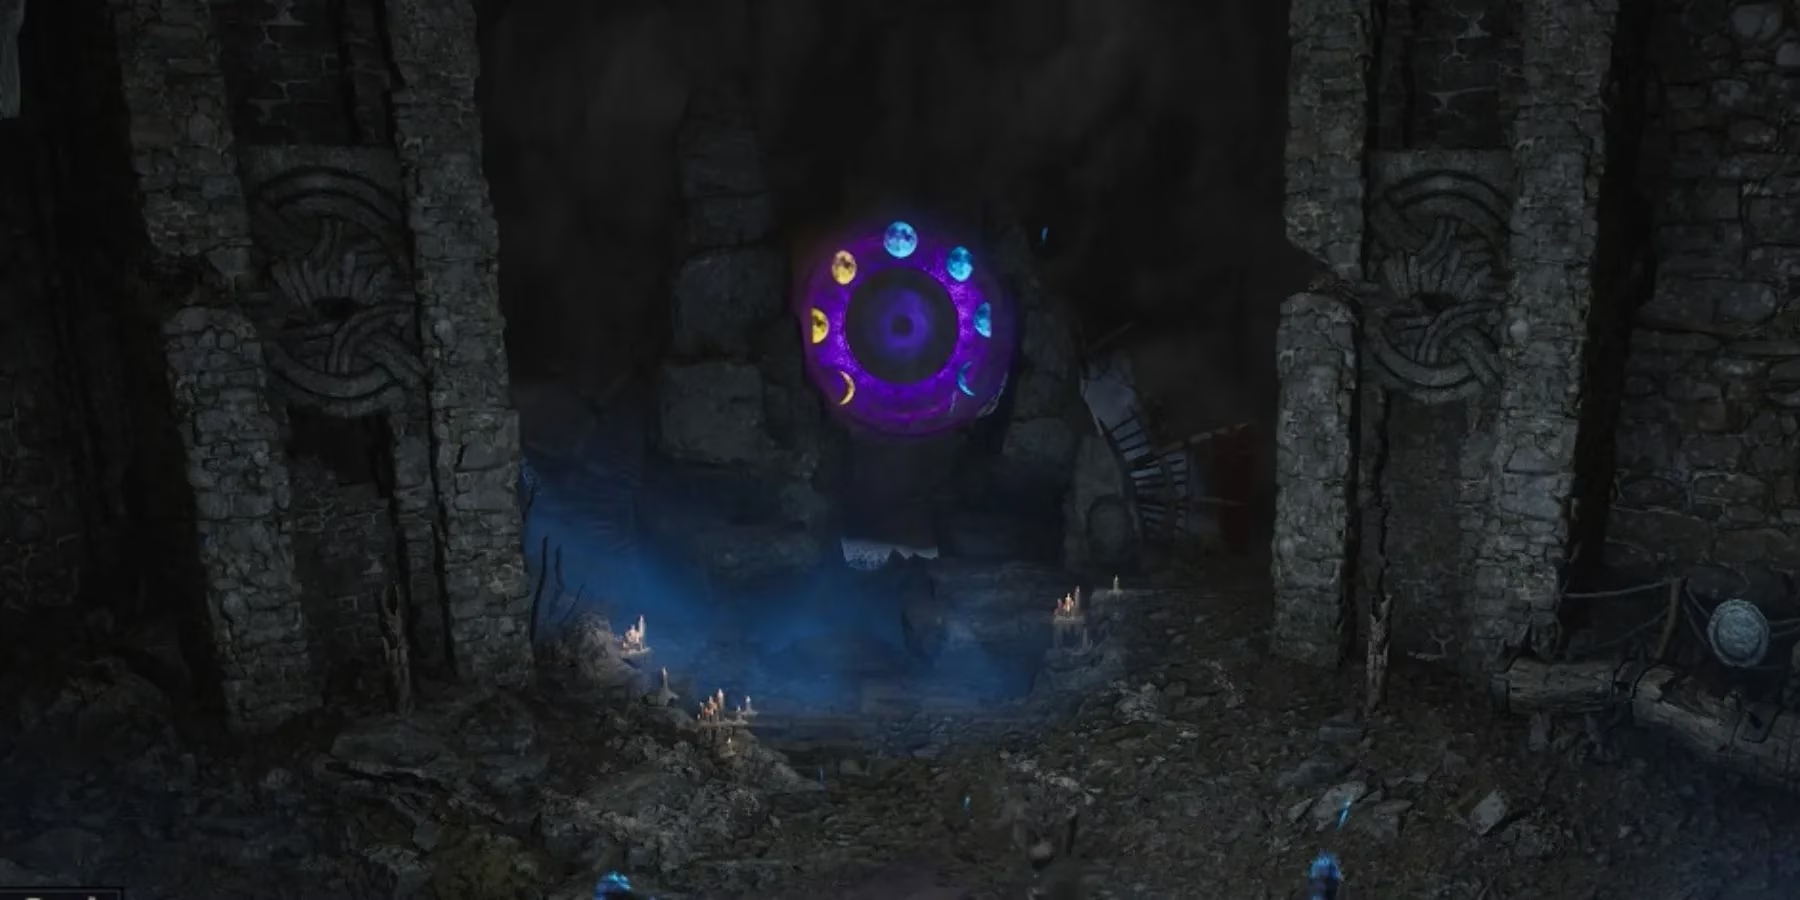
The first phase is deceptively simple. Players should examine the Full Moonstone in the center of the room and select the Use option. This triggers moving light patterns across the pillars. The goal is to find two half-moon shapes, one yellow and one blue, that combine into a full moon. Since the lights move quickly and curve around the space, a player may need a few moments to track which pillar holds the correct pattern. The correct approach is to observe the movements first, then interact with the Incantation Pillar that matches the yellow and blue pair. The order usually requires one pillar at a time, not both at once.
Second Puzzle Stage: Wolf Dash and Random Patterns
The second stage is more complicated because it has a hidden requirement. Players must have a wolf-shaped morph active before the puzzle will resume. The Wild Skoll and Shadow Skoll morphs are the commonly cited examples, though any eligible wolf dash form can work. Without it, the next interaction may not function at all.
Once the wolf morph is equipped, players should use Wolf Dash form and grab the first light pattern. They then need to dash to the corresponding column and interact with it. After that, they grab the next pattern and continue until the full moon shapes are assembled. It is important to remember that the light patterns are randomized. Every attempt can place the shapes in different positions, so memorizing a fixed route will not work. However, the color rule remains constant: each pair consists of one blue piece and one yellow piece. When combined, the two pieces must form a full circle. If the result is not a complete moon, the puzzle resets.
Completion and Return to Canina Village
After the second stage is solved, a cutscene plays and Clay tells the player to follow him. The missing person is found behind the altar, which shifts the quest toward the next phase. Players return to Canina Village and head to the Talon Guild Base. There, the situation escalates beyond Clay's control, and the focus moves to helping Harden regain consciousness. The remaining objective involves gathering specific materials before Chapter 10 continues.
Quick Reference
| Stage | Key Action | Requirement |
|---|---|---|
| First half | Match yellow and blue half moons | None |
| Second half | Dash between columns in wolf form | Wolf morph such as Wild Skoll or Shadow Skoll |
| Completion | Form full circles and watch the cutscene | Correct pattern pairing |
Players who prepare a wolf morph before entering the dungeon will save themselves a frustrating pause. A little patience while tracking the moving lights also helps, because the puzzle is not about speed alone. The random placement of patterns means every run feels slightly different, but the full moon rule and the yellow-blue pairing remain reliable guides.
Comments