Hey there, fellow adventurer! So, you've hit level 50 in Throne and Liberty and now you're staring down the barrel of Death's Abyss. Trust me, I've wiped more times than I care to admit in this dungeon, and I'm here to make sure you don't repeat my mistakes. This place is basically Specter's Abyss on steroids — familiar layout, but the training wheels are off. The final boss, Karnix, is an absolute unit, and those minibosses will mess you up if you aren't paying attention. But don't sweat it; I've got your back.
First things first, let's talk power level. The game says recommended 1600, but I'm here to tell you — don't even think about queueing up at that point. You'll just end up as a floor ornament while the mobs dance on your corpse. Grind your gear until you hit at least 2000. It's a DPS race and a CC coordination test rolled into one. There are tons of level 50 mobs with over 45k health, and both minibosses have wipe mechanics that can be cancelled — but only if your stuns and interrupts are on point. Being undergeared turns a fun challenge into a rage-quit simulator.
The Early Rooms: Keep It Tight, Keep It Smart
The first few rooms are super straightforward. No gimmicks, just a lot of angry undead. The real art here is learning how to skip unnecessary fights. Hug the wall, watch patrol patterns, and for the love of all that's holy, don't Leroy Jenkins your way into a party wipe. If you have to fight, form a proper battle line. Let your tank grab aggro while the DPS focus-fires one target at a time — always prioritize enemy healers. And when you see an Arbiter start channeling an AOE, stun that sucker immediately. Timing is everything.
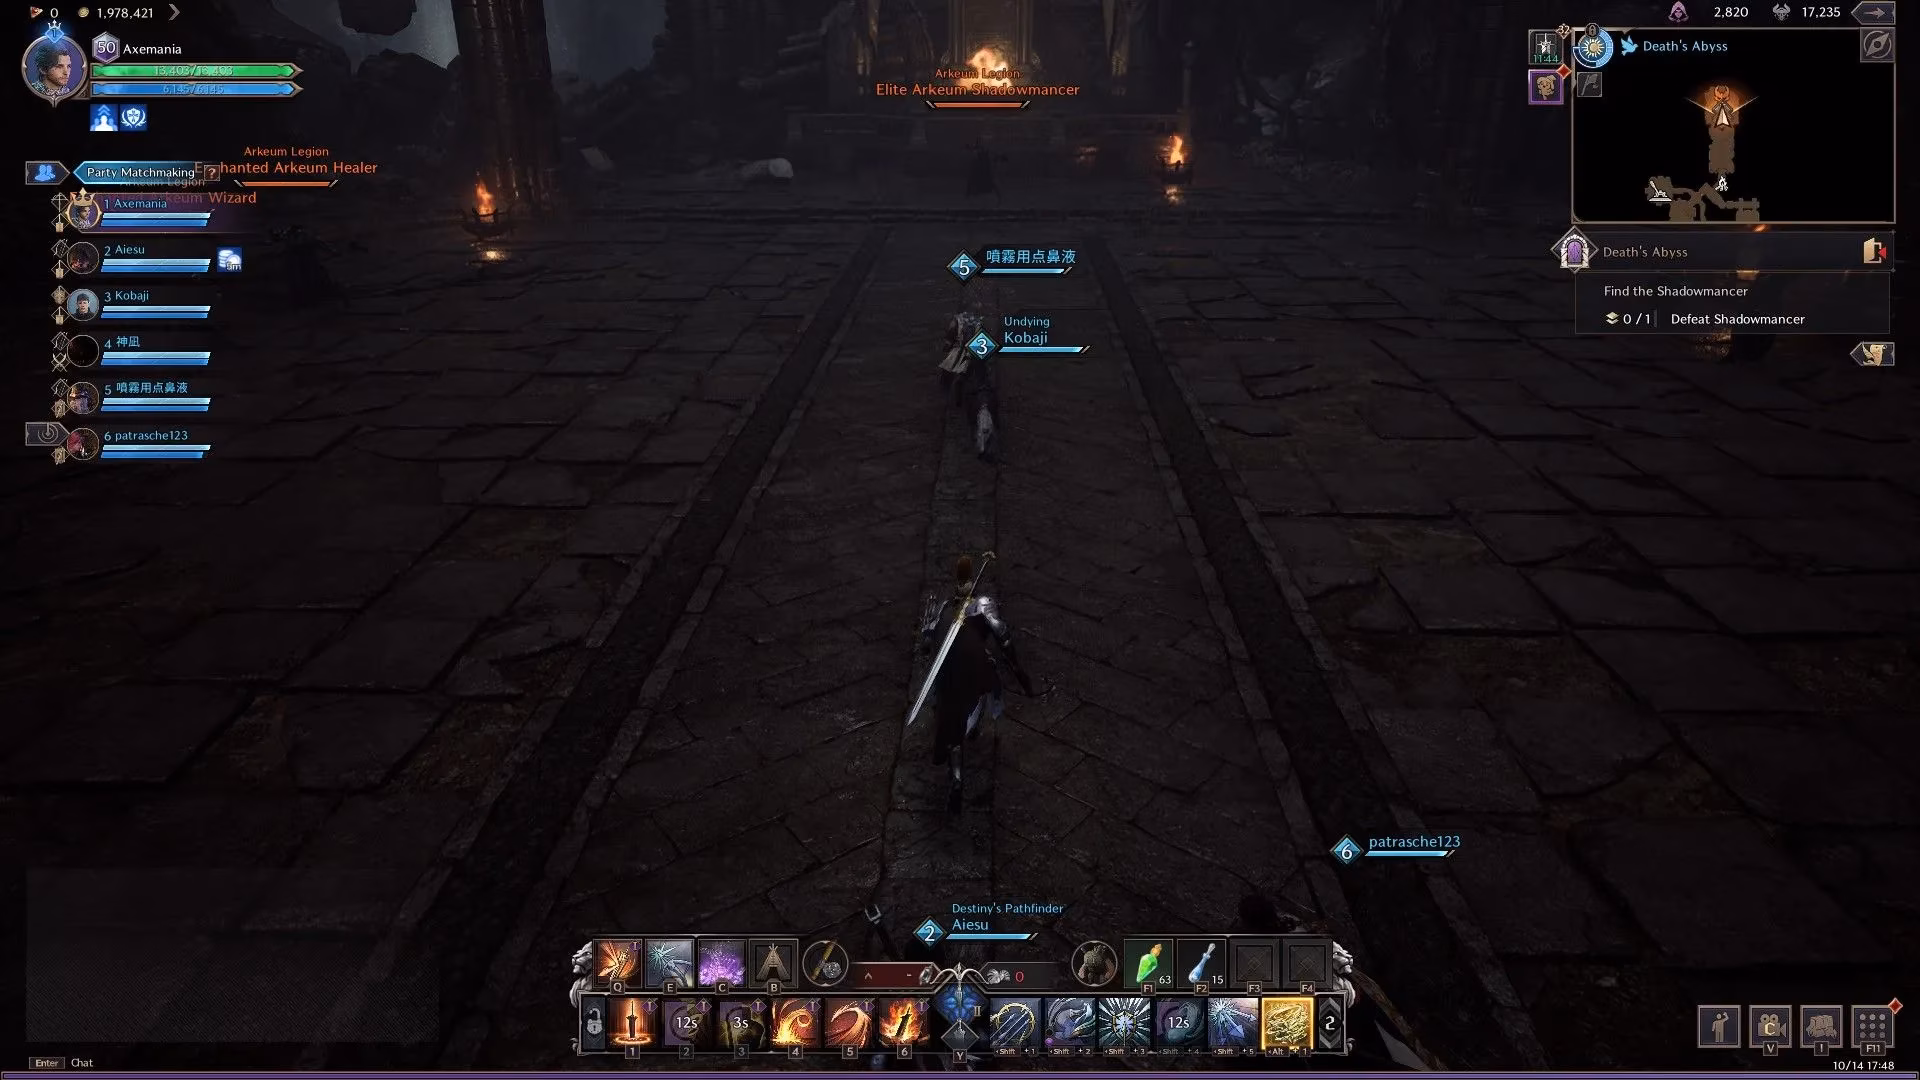
Elite Arkeum Shadowmancer: The One-Shot Wonder
This guy is your first real test. The arena is a huge hall packed with adds. Ideally you clear the trash first, but if you're feeling ballsy, you can sprint straight down the middle and engage the boss without pulling anything else. Just know that one wrong step and the whole room pounces.
The Shadowmancer has one attack you absolutely must cancel: when he screams "I will end your life," he lifts players into the air and then smites them. It's an instant kill. No exceptions. The counterplay? Hard crowd control. Stun him, knock him down, whatever you've got. Greatsword users — save your stun for that moment. Miss it, and enjoy the loading screen. I've been there.
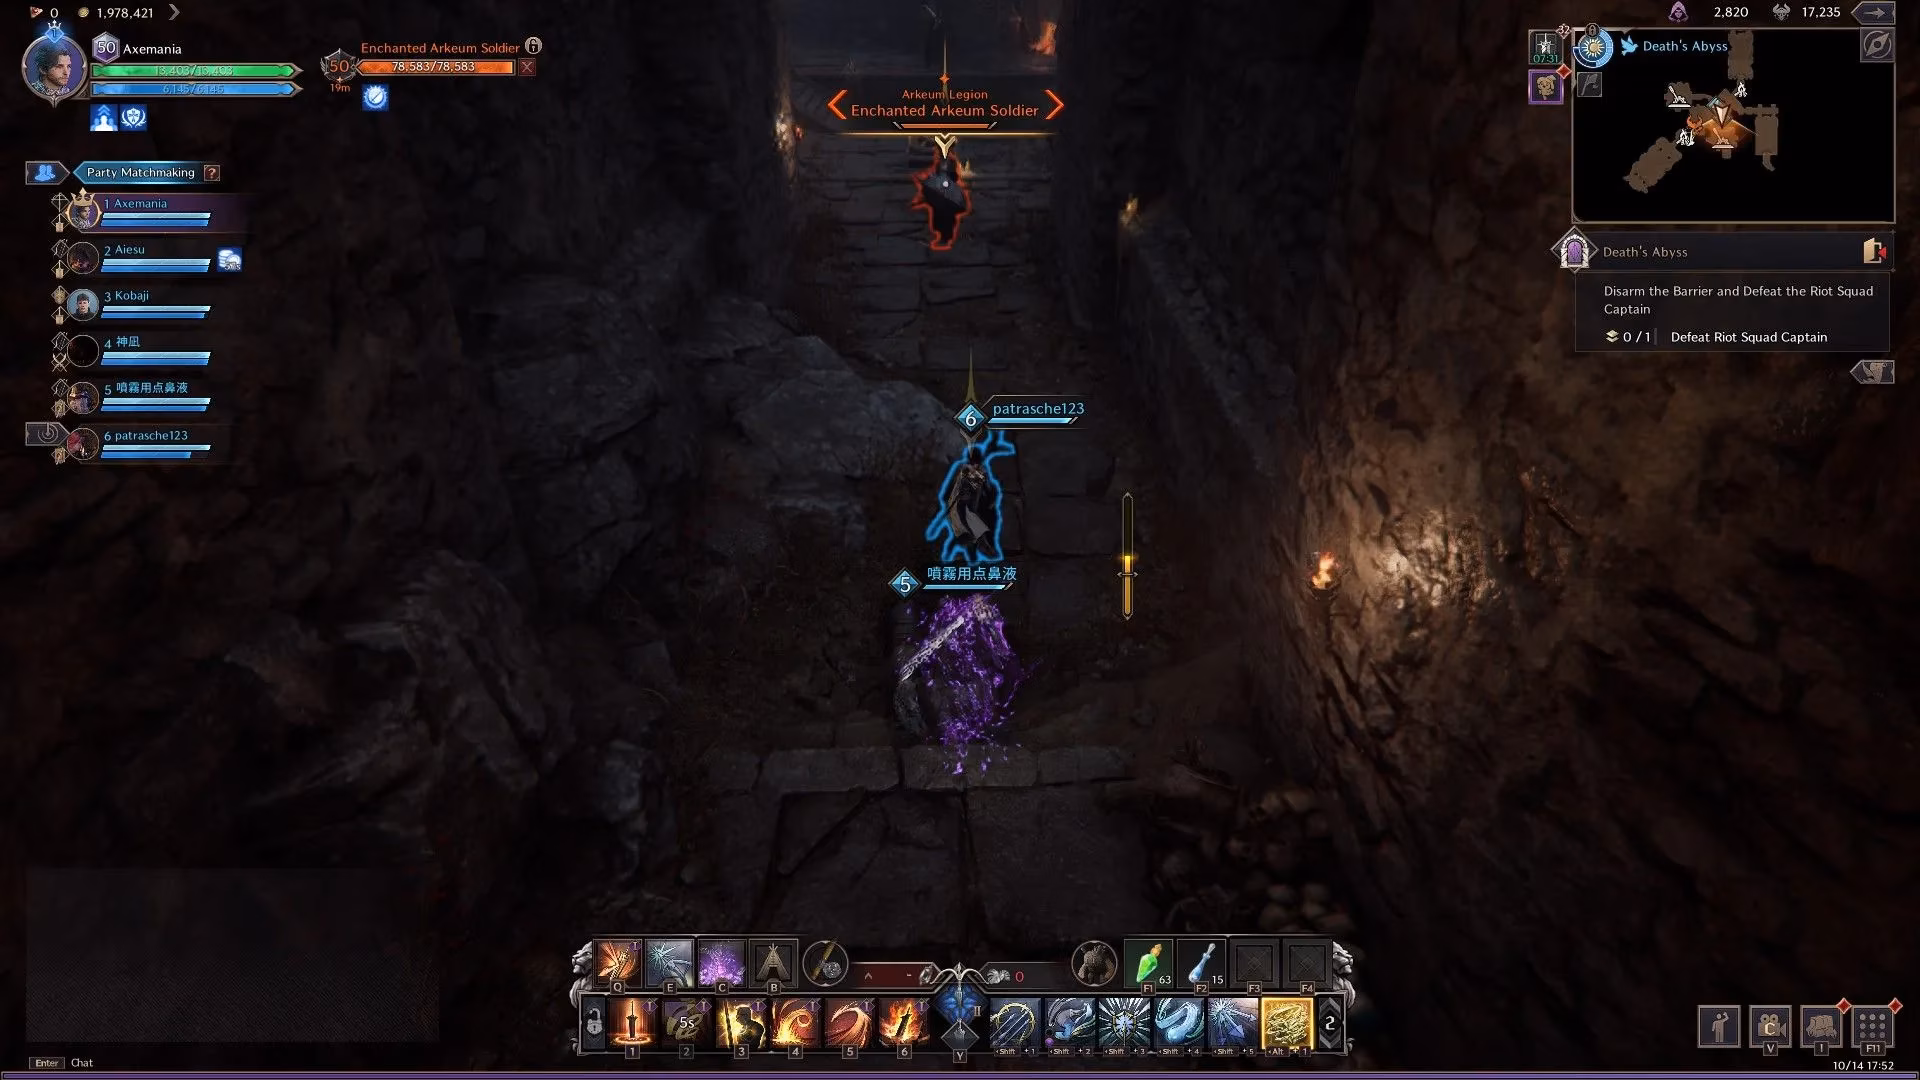
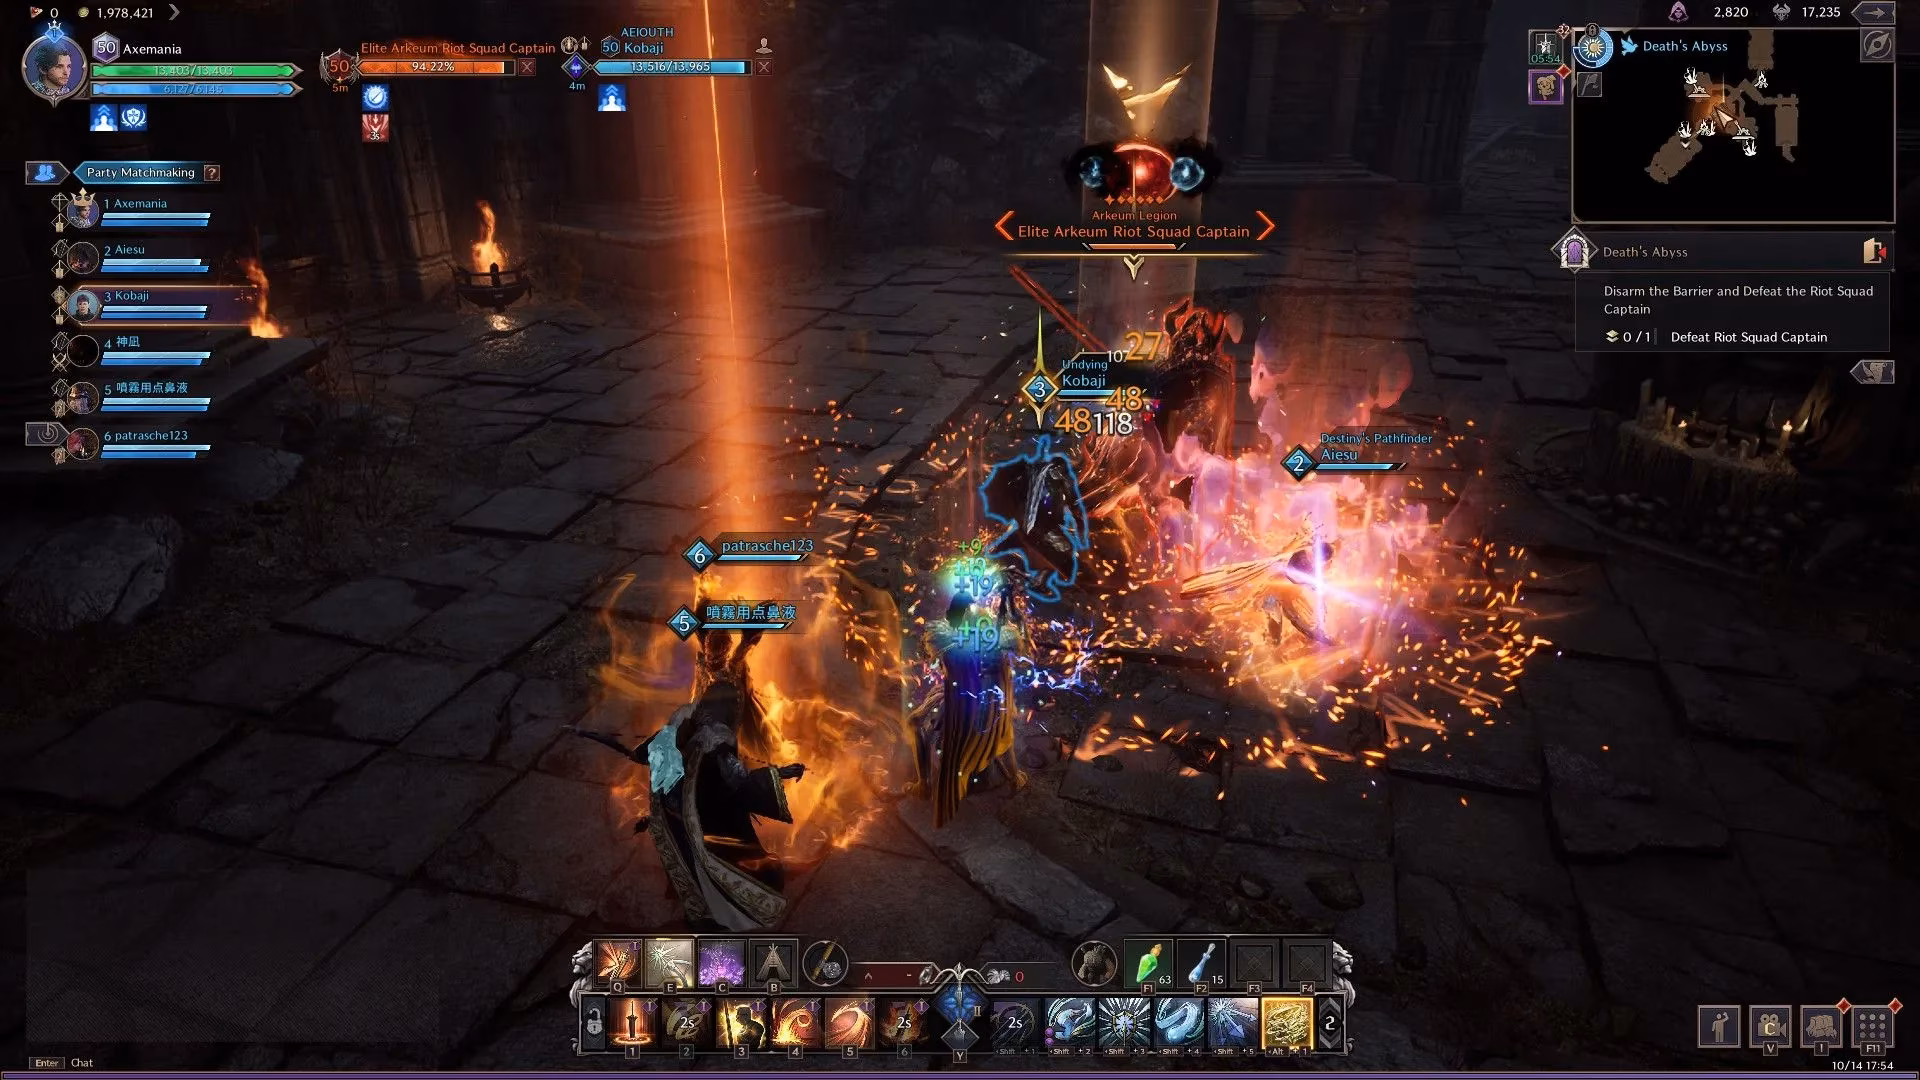
Riot Captain: Blue Shield, Red Alert
Next up, the Riot Captain. If you thought the last boss was a pushover, this big guy will humble you. The fight is similar — avoid or clear adds first, then burn boss. But here's the twist: when he pops a blue shield, everyone has to unload their highest-damage abilities to break it ASAP. If that shield stays up, it's a full party wipe. Once it shatters, immediately follow up with a hard CC to stop his follow-up AOE. DPS players, this is your time to shine. Coordinate your bursts, and don't blow your CDs on random trash beforehand. Pro tip: communication is key. Call it out when the shield goes up — pinging like crazy helps.
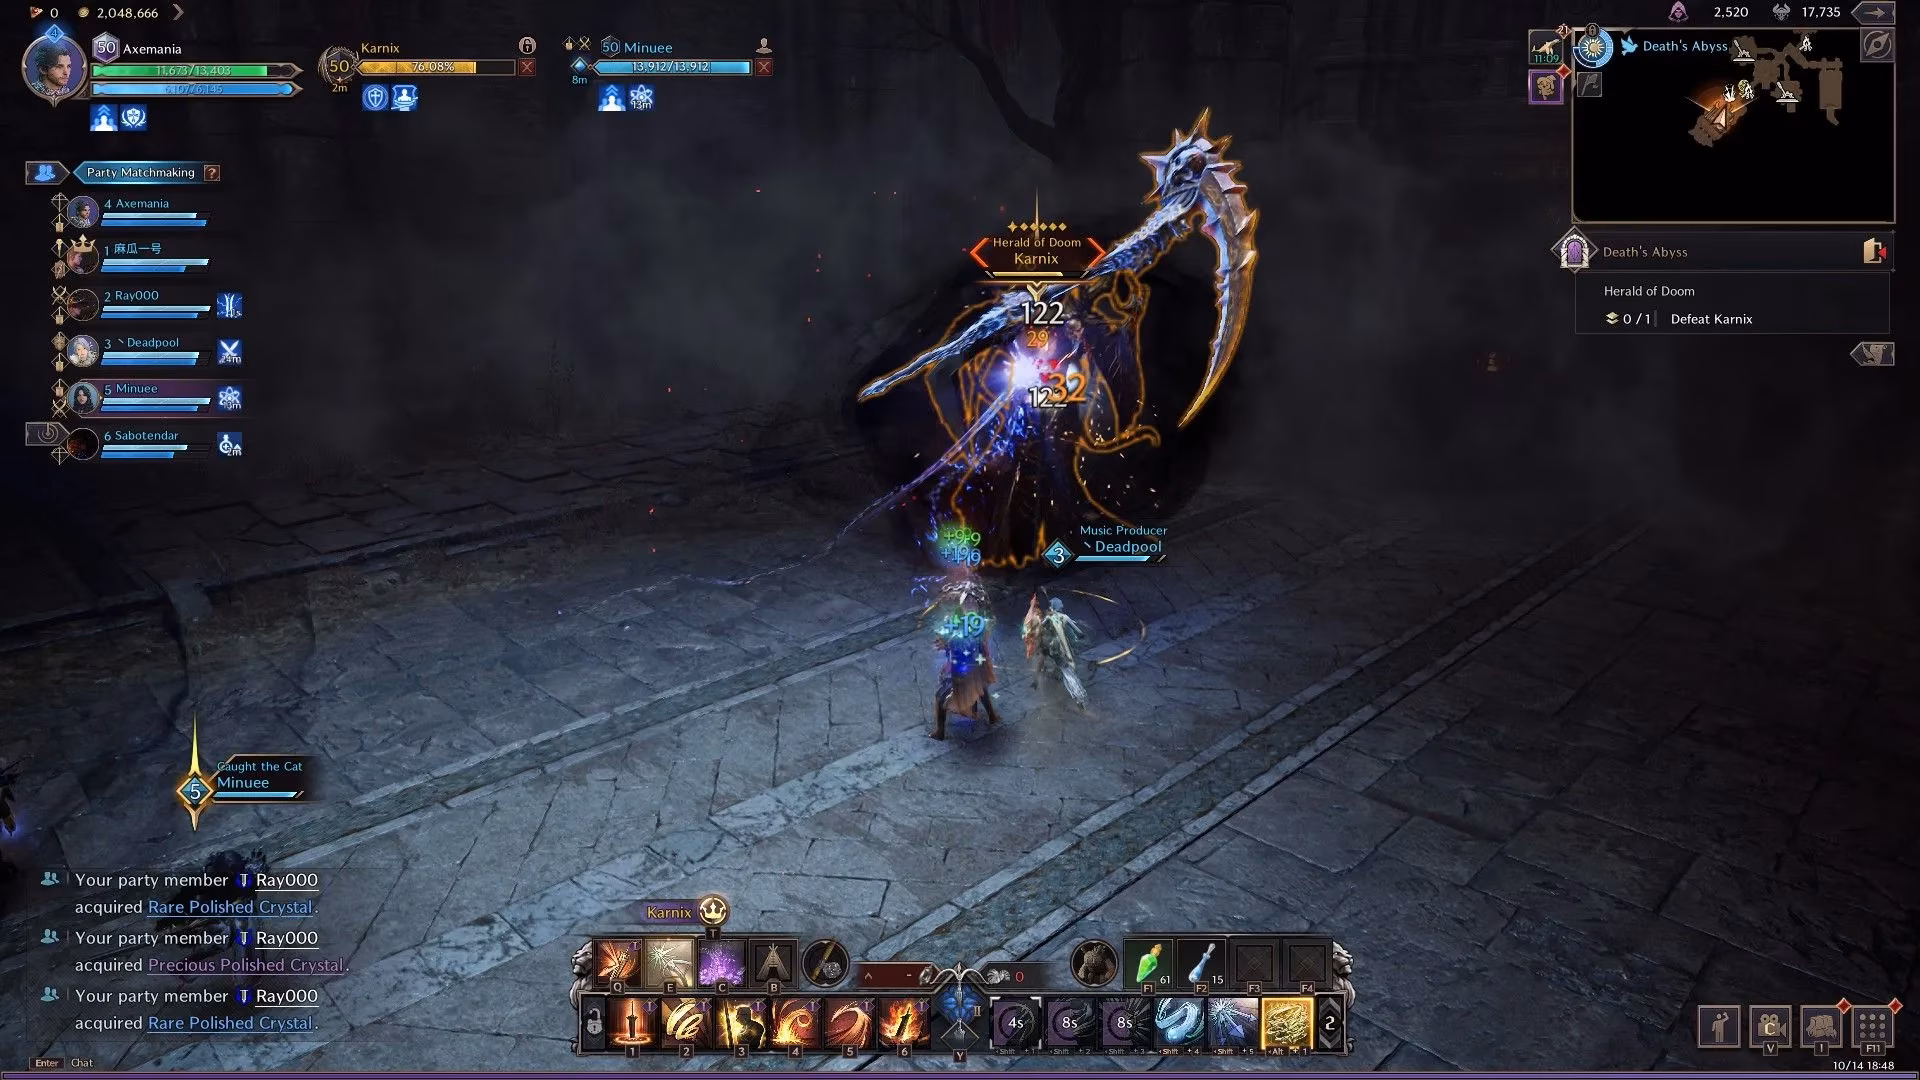
Karnix: The Abyss Incarnate
Alright, the big bad. Karnix is basically the Specter's Abyss boss jacked up on dark magic. He has all the same basics plus a few nasty tricks that will wipe your party if even one person messes up. Your standard rhythm during the fight should be: do your role, block fury attacks, and stay frosty. After a few cycles, he'll start pulling out the special moves.
Teleport Slam Combo: The Rule of Three
Karnix will teleport and slam his scythe, launching a cone-shaped shockwave that hits everything in a line. This is not RNG — it follows a strict pattern. He always does it three times. The first two teleports target the player farthest from his current position. Those attacks are always shockwaves. The third teleport targets the same player from the second teleport, but this time it's a quick AOE scythe sweep.
The counter? Have one ranged player bait it. They should stand slightly behind the rest of the backline. When Karnix teleports to them, they need to hug the boss and angle the shockwave away from the group. It takes practice, but once you get it, you'll feel like a pro.
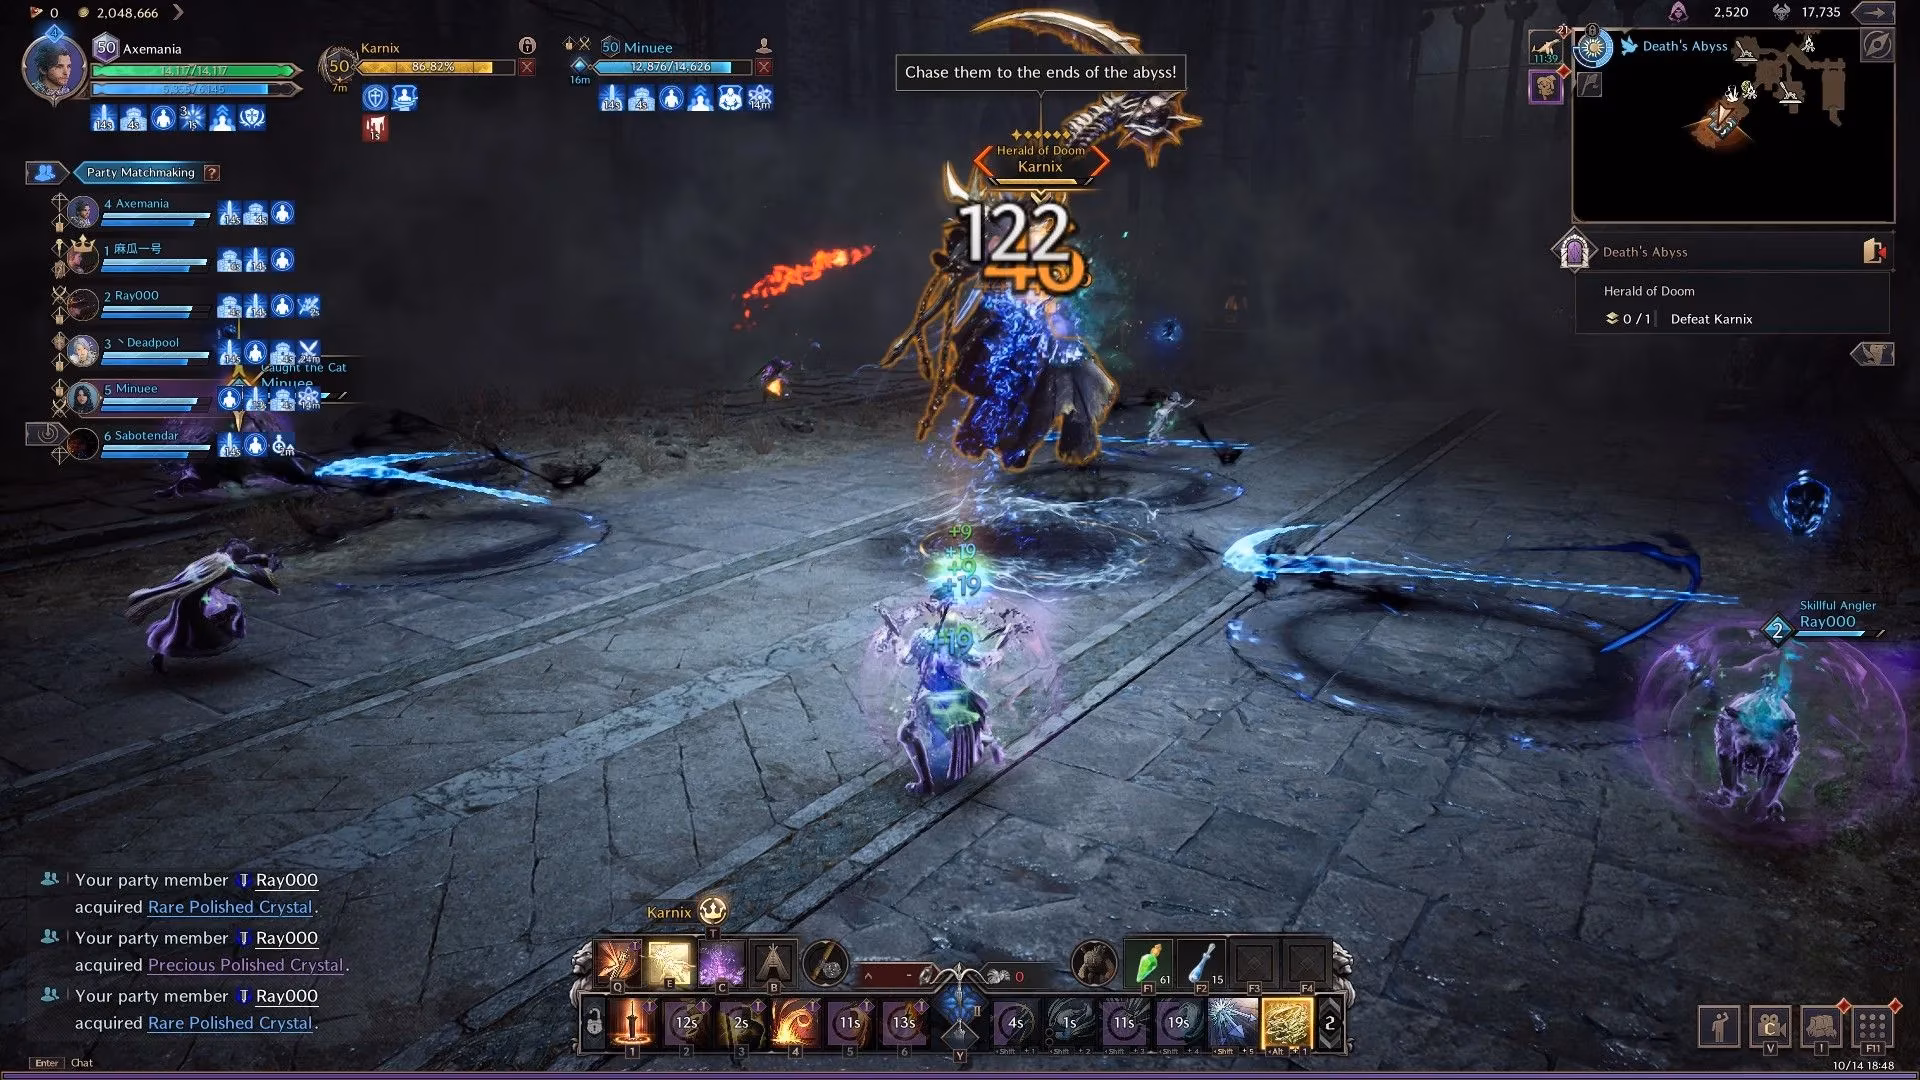
Scythe Chase: Run for Your Life (But Don't Cross Streams)
After the teleport nonsense, Karnix marks three players with skulls and sends homing scythes their way. If you get marked, run like your boots are on fire. Use your dash morph to outrun them, but whatever you do, don't cross paths with another marked player — that's a guaranteed death for both of you. The trick is to run in lazy circles to keep the scythes occupied without forcing them into your teammates. Don't stray too far from the group, because right after this, a big team mechanic is coming.
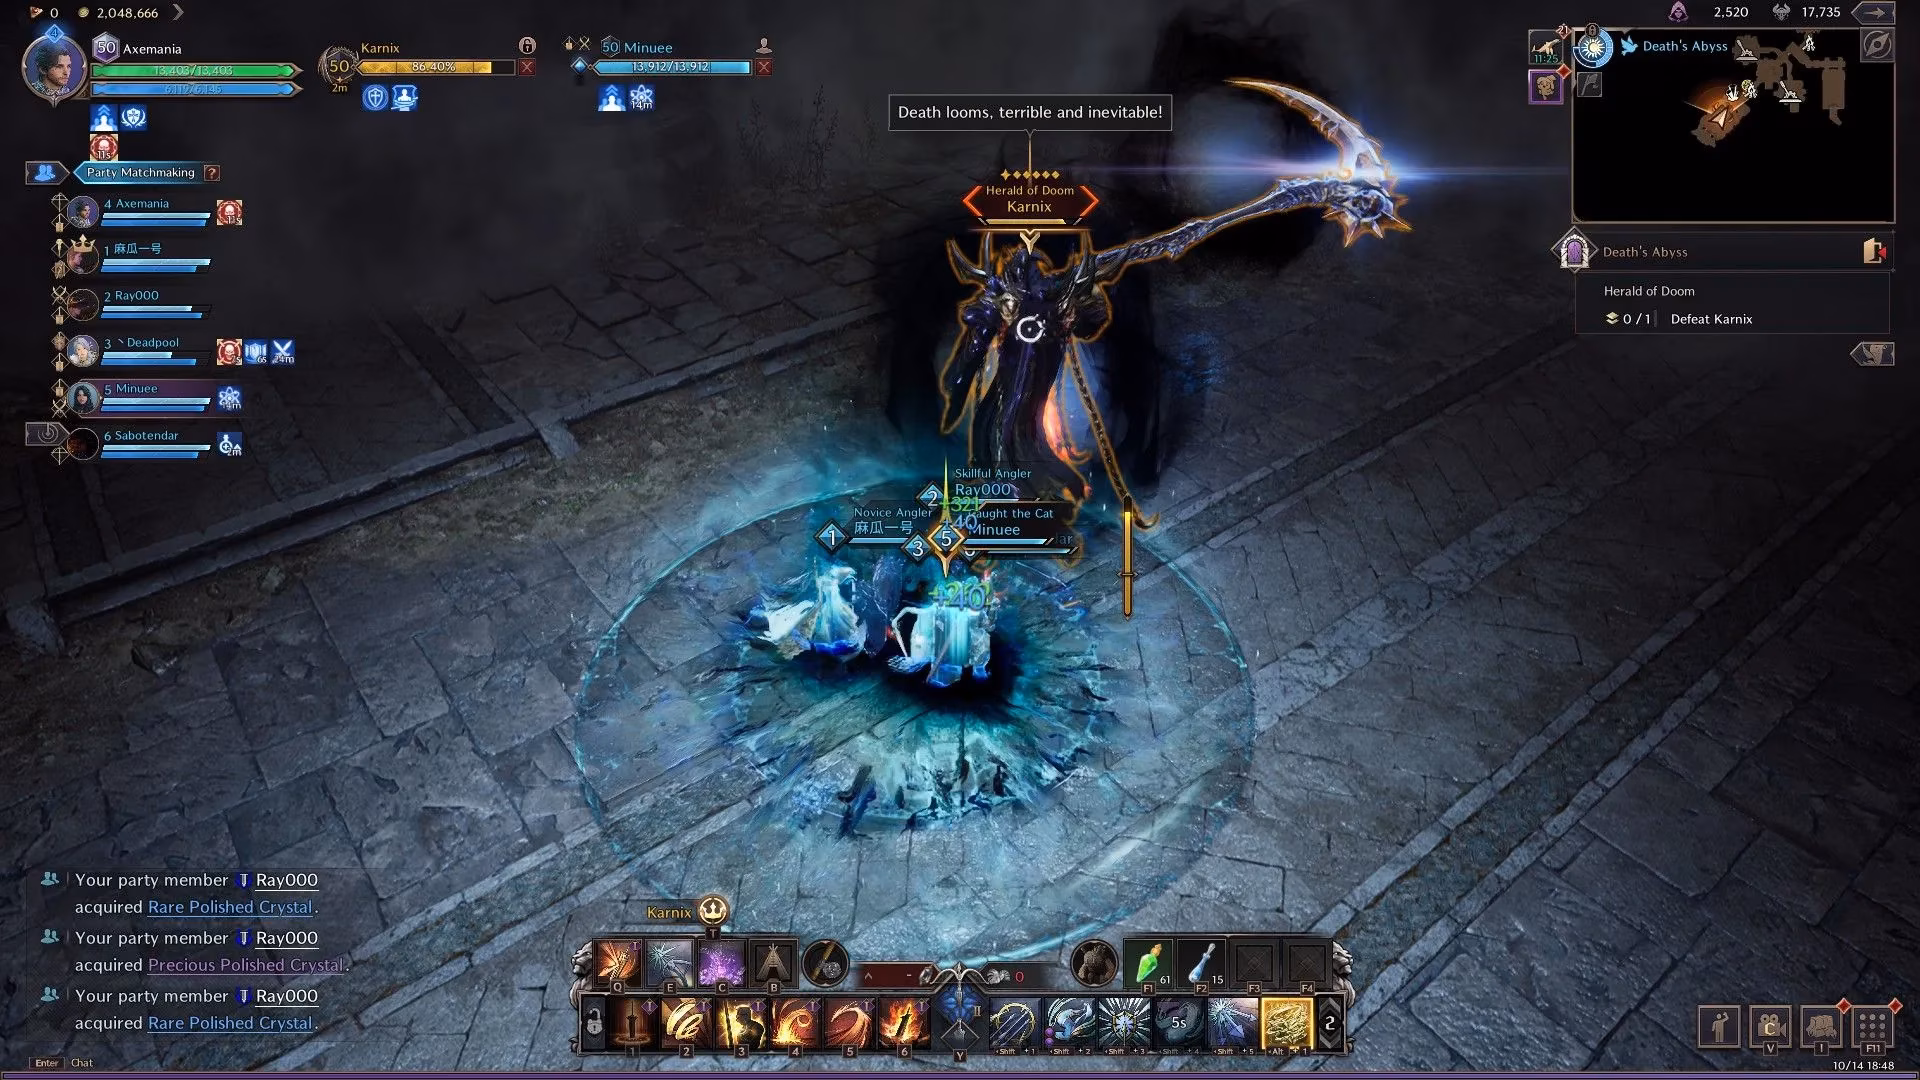
Mark of Death: Group Hug or Die
This is the make-or-break moment. Karnix marks one person with a dark circle under their feet. If they stand alone, they'll be obliterated in a few seconds. The only way to save them is for the entire party to pile into that circle. The damage gets split among everyone inside, so with a full team it's survivable — barely. Have four or fewer people in there? Most of you are eating dirt. Tanks might live, but healers and DPS will drop. Once the circle resolves, Karnix follows up with a blockable Fury Attack, so be ready.
After this phase, Karnix resets his rotation. The periods between specials are your prime DPS windows. Save your cooldowns for those gaps, and you'll melt his health bar. A well-coordinated group can finish him without a single death — but it takes everyone doing their part. If you're still struggling, check your team's gear score and make sure your tank has aggro locked tight. A rogue add or a missed interrupt can cascade into disaster.
Death's Abyss is one of those dungeons that separates casual players from the dedicated. It's punishing, but damn satisfying when you clear it. Keep your head cool, your CC ready, and your gear above 2k, and you'll be dancing on Karnix's grave in no time. Happy hunting!"
Comments