
It’s 2026, and Throne and Liberty’s endgame dungeons are still brutal. If you’ve been banging your head against Taedal’s Tower Floor 14, you know the Old Wizard’s Eye—a colossal, floating eyeball with a serious attitude problem. I’ve lost count of how many times this thing sent me back to the respawn point with its one-hit-KO Death Gaze. But after some serious elbow grease (and a few dozen Guild Coins), I’ve finally cracked the code. Let me walk you through the whole nasty encounter so you can avoid the rage and snag the loot.
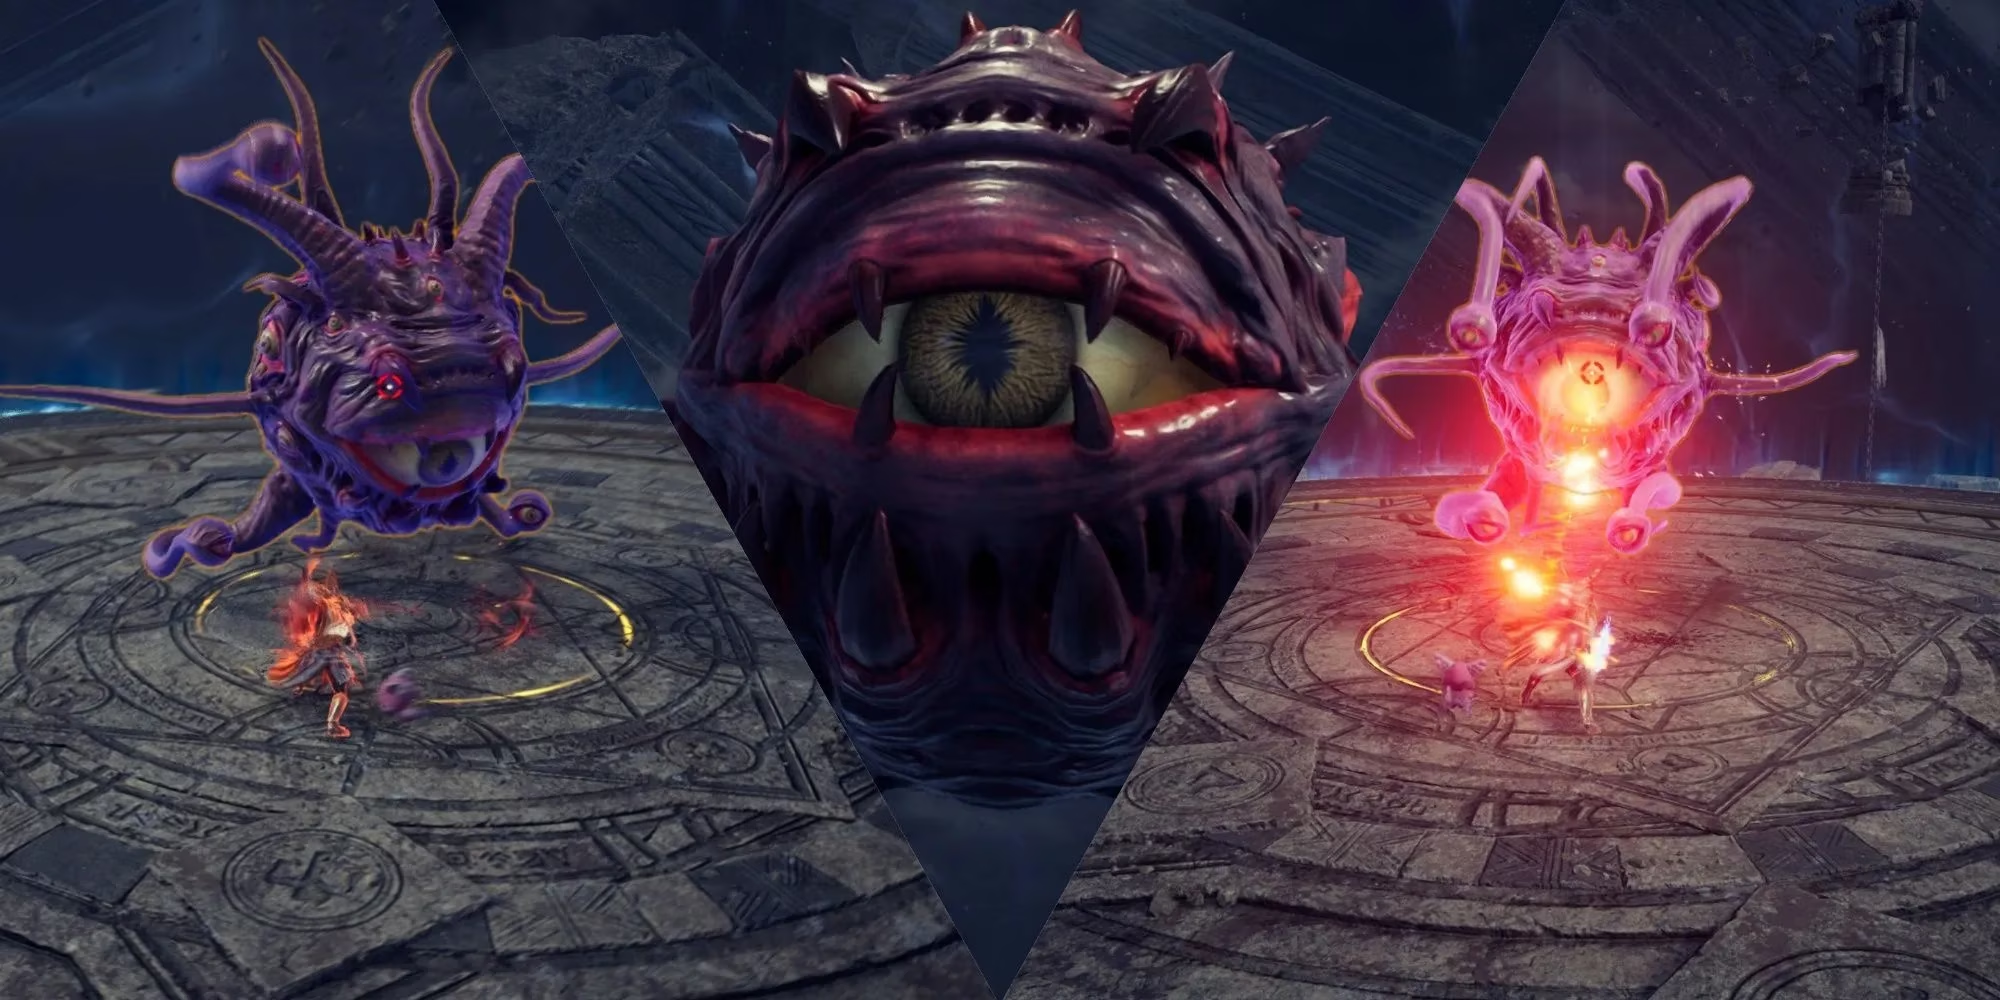
First things first — let’s talk mechanics. The community has lovingly nicknamed this boss “Beholder,” and honestly, that’s the perfect label for a giant floating eye that can erase you from existence with a single peek. If you go in blind (pun intended), you’ll be kissing the floor before you even know what happened. The whole fight boils down to three core survival rules, and if you can’t handle them, don’t bother stepping through that door.
Jumping and Blocking are your bread and butter. Some attacks demand a perfectly timed block — think of it like deflecting a Souls-like boss’s charged strike. Others require you to hit the jump button at the exact right moment, or the arena-wide shockwave will turn your health bar into a sad little sliver.
Dodging the Death Gaze is non-negotiable. This is a Wrath Attack that can’t be blocked, parried, or mitigated in any way. When the boss starts glowing and screams, everything standing in a 180° cone in front of it gets deleted — instantly. I’m talking “you’re dead, no second chances, better luck next attempt” territory. The only trick? Get behind the big eyeball faster than a cat on a hot tin roof.
Getting away from AoE pools will save your bacon mid-fight. The Old Wizard’s Eye loves to litter the arena with Corruption patches that melt your HP based on a percentage of your max health per second. Standing in that goop is an express ticket to respawn. You’ve got to keep moving — Throne and Liberty’s combat ain’t your static tab-target MMO, so treat your feet like they’re on fire.
Before you jump in, make sure your pockets are stuffed with consumables. I can’t stress this enough: grab High-Quality Recovery Crystals from Guild Coin Merchants. The damage in this fight is relentless, and you’ll need that extra healing to survive the barrage of basic attacks you can’t dodge. Think of it as paying for a little peace of mind — worth every coin.
The Nasty Tricks Up the Eye’s… Well, It Doesn’t Have Sleeves
Now let’s break down what this oversized ocular fiend actually throws at you. Knowing the attacks is half the battle, so pay attention.
-
Primary Attack Blast: Constant, undodgeable magical barrages. You will take chip damage all fight long — there’s no avoiding it. Keeping your health topped off is key, otherwise you’ll fold like a lawn chair when the heavy hitters land.
-
Dark Energy Blast: The boss launches dark orbs that crash into the ground and create expanding AoE circles. You must dodge the initial impact — blocking is useless here. The lingering Corruption AoE can end you in seconds, so backpedal immediately and rotate around the boss.
-
Death Laser: A Fury Attack that the Old Wizard’s Eye spams like there’s no tomorrow. It’s a direct beam you must perfect-block. Fail the timing and a huge chunk of your health disappears. Nail it, and you’ll both negate damage and stun the boss for a precious moment. This is a rhythm you absolutely have to learn.
-
Body Slam: A Wrath Attack that’s unblockable and undodgeable. The monster slams its body into the floor, sending a shockwave across the entire arena. The only answer is a well-timed jump. It feels awkward at first, but after a few wipes you’ll be hopping like a bunny every time it winds up.
-
Death Gaze (25% HP trigger): I’ve already warned you about this, but it bears repeating. When the boss loses a quarter of its health, it screams, glows, and unleashes its insta-kill gaze. If you’re not already behind it by that point, you’re toast. Repositioning is a life skill here.
How I Cleared It: Class Tips from the Trenches
I’ve thrown everything but the kitchen sink at this boss, and here’s what actually works for each weapon style.
Sword & Shield / Greatsword players, you’re the front-line tanks. Pop  DaVinci’s Courage for attack speed, damage mitigation, and healing. Combine it with
  Immortal Pride for extra mitigation. The real game-changer is the Brutal Warrior Valkarg guardian. This champ stores up to 4000% of the damage you deal and then unleashes it all back on the boss when you execute a perfect parry. If you can chain blocks and counters, you’ll turn the Eye’s own aggression against it in spectacular fashion.
Dagger users, your mobility is your lifeline.  Shadow Strike is a godsend for dodging both Death Gaze and Dark Energy Blast. Pair it with
  Block Blade for parrying and you can dance circles around the boss. Time your blinks right, and you’ll feel like a ninja who just pulled the rug out from under a glowing orb of doom.
Longbow and Crossbow users, forget about standing still to charge your shots. This fight is a moving fiesta. Stick to instant-cast abilities and strafe counterclockwise around the boss. When the Death Laser aims your way, don’t panic — just time your dodge and keep firing. Squishy characters should lean hard on the Lady Knight Kamarshea guardian; she grants a shield equal to 50% of your max mana and a staggering 40% cooldown reduction. More shields, more skills, less dying — works like a charm.
Staff and Wand users, be careful with defensive tools. The  Mystic Shield has a tight parry window on Fury Attacks — miss it and you’ll eat a full Death Laser. Likewise, Longbow’s
  Overtaker can mess up your positioning if used carelessly. Keep a mid-range distance, circle the boss nonstop, and never get caught flat-footed. If you get too far away, the Eye will spam Body Slam and laser you into the dirt before you can blink.
The Bottom Line
Patience is your biggest ally. Circle clockwise or counterclockwise, stay glued to mid-range, and perfect-block those Death Lasers like your life depends on it — because it does. Jump when the floor rumbles, and the nanosecond you see the boss hit 75% HP, you’d better already be behind it. Bring the right guardian, load up on Healing Crystals, and don’t let frustration get the better of you. Once you get the rhythm down, that infamous Old Wizard’s Eye will be nothing but a floating memory — and a loot piñata waiting to be popped.
Comments